Blog » Travel Guides » Utah’s Mighty 5 N...
Utah’s Mighty 5 National Parks: Quick Guide, Best Time to Visit & 3–7 Day Itineraries
A one-stop planning hub for Utah’s Mighty 5—Arches, Bryce Canyon, Canyonlands, Capitol Reef and Zion—this guide explains what makes each park unique, compares side-by-side logistics, and provides plug-and-play 3–7 day itineraries by traveler type. Use the decision framework, micro-schedules and packing/safety checklists to prioritize parks and build an efficient trip plan.
Key Takeaways
- Use a simple timeframe rule: 1–2 days = one nearby park and signature sights, while 3–7 days = 2–4 parks with buffer time for big hikes and driving.
- Families favor Bryce and Capitol Reef,
- Hikers and backpackers should prioritize Zion and Canyonlands,
- Photographers aim for Arches and Bryce.
- Book required permits, timed‑entry tickets and shuttle reservations early because places like Angels Landing, Arches (timed entry) and Zion (shuttle/permits) enforce them.
- Start early and plan for sunrise or golden‑hour visits to beat crowds and capture the best light at key spots like Delicate Arch, Bryce Point and Mesa Arch.
- Prioritize safety and logistics: carry ample water, monitor weather and park alerts for flash‑flood risks in slot canyons, and download maps or bring a satellite messenger where cell service is spotty.
Ready for a desert-dusted adventure that hits every dramatic corner of the American West?
Utah national parks deliver red‑rock splendor, sunrise silhouettes, and surprisingly good coffee shop vibes. If you’ve been wondering how to pick the right parks without turning your vacation into a logistics puzzle, you’re in the right place. This quick guide helps you tailor the trip to your time, energy, and photo goals.
We’ll start with a quick decision framework to pick the parks that fit your 1–2 days vs 3–7 days timeframe, then map your trip around that core choice. Next, we match parks to traveler type—families, hikers, photographers, accessible travel—and finish with a simple priority scorecard that translates taste into a pick. And yes, there are ready-made 3–7 day itineraries you can steal (or tailor) so you’re not starting from scratch.
From timing windows and shuttle rules to base towns and budget tips, this guide covers the practical logistics that make or break a Utah road trip. You’ll get park-by-park highlights and pairing ideas to maximize scenery with minimal driving, plus 3–7 day itineraries by traveler profile to match your vibe.
Quick decision framework: Choose the right parks for your trip
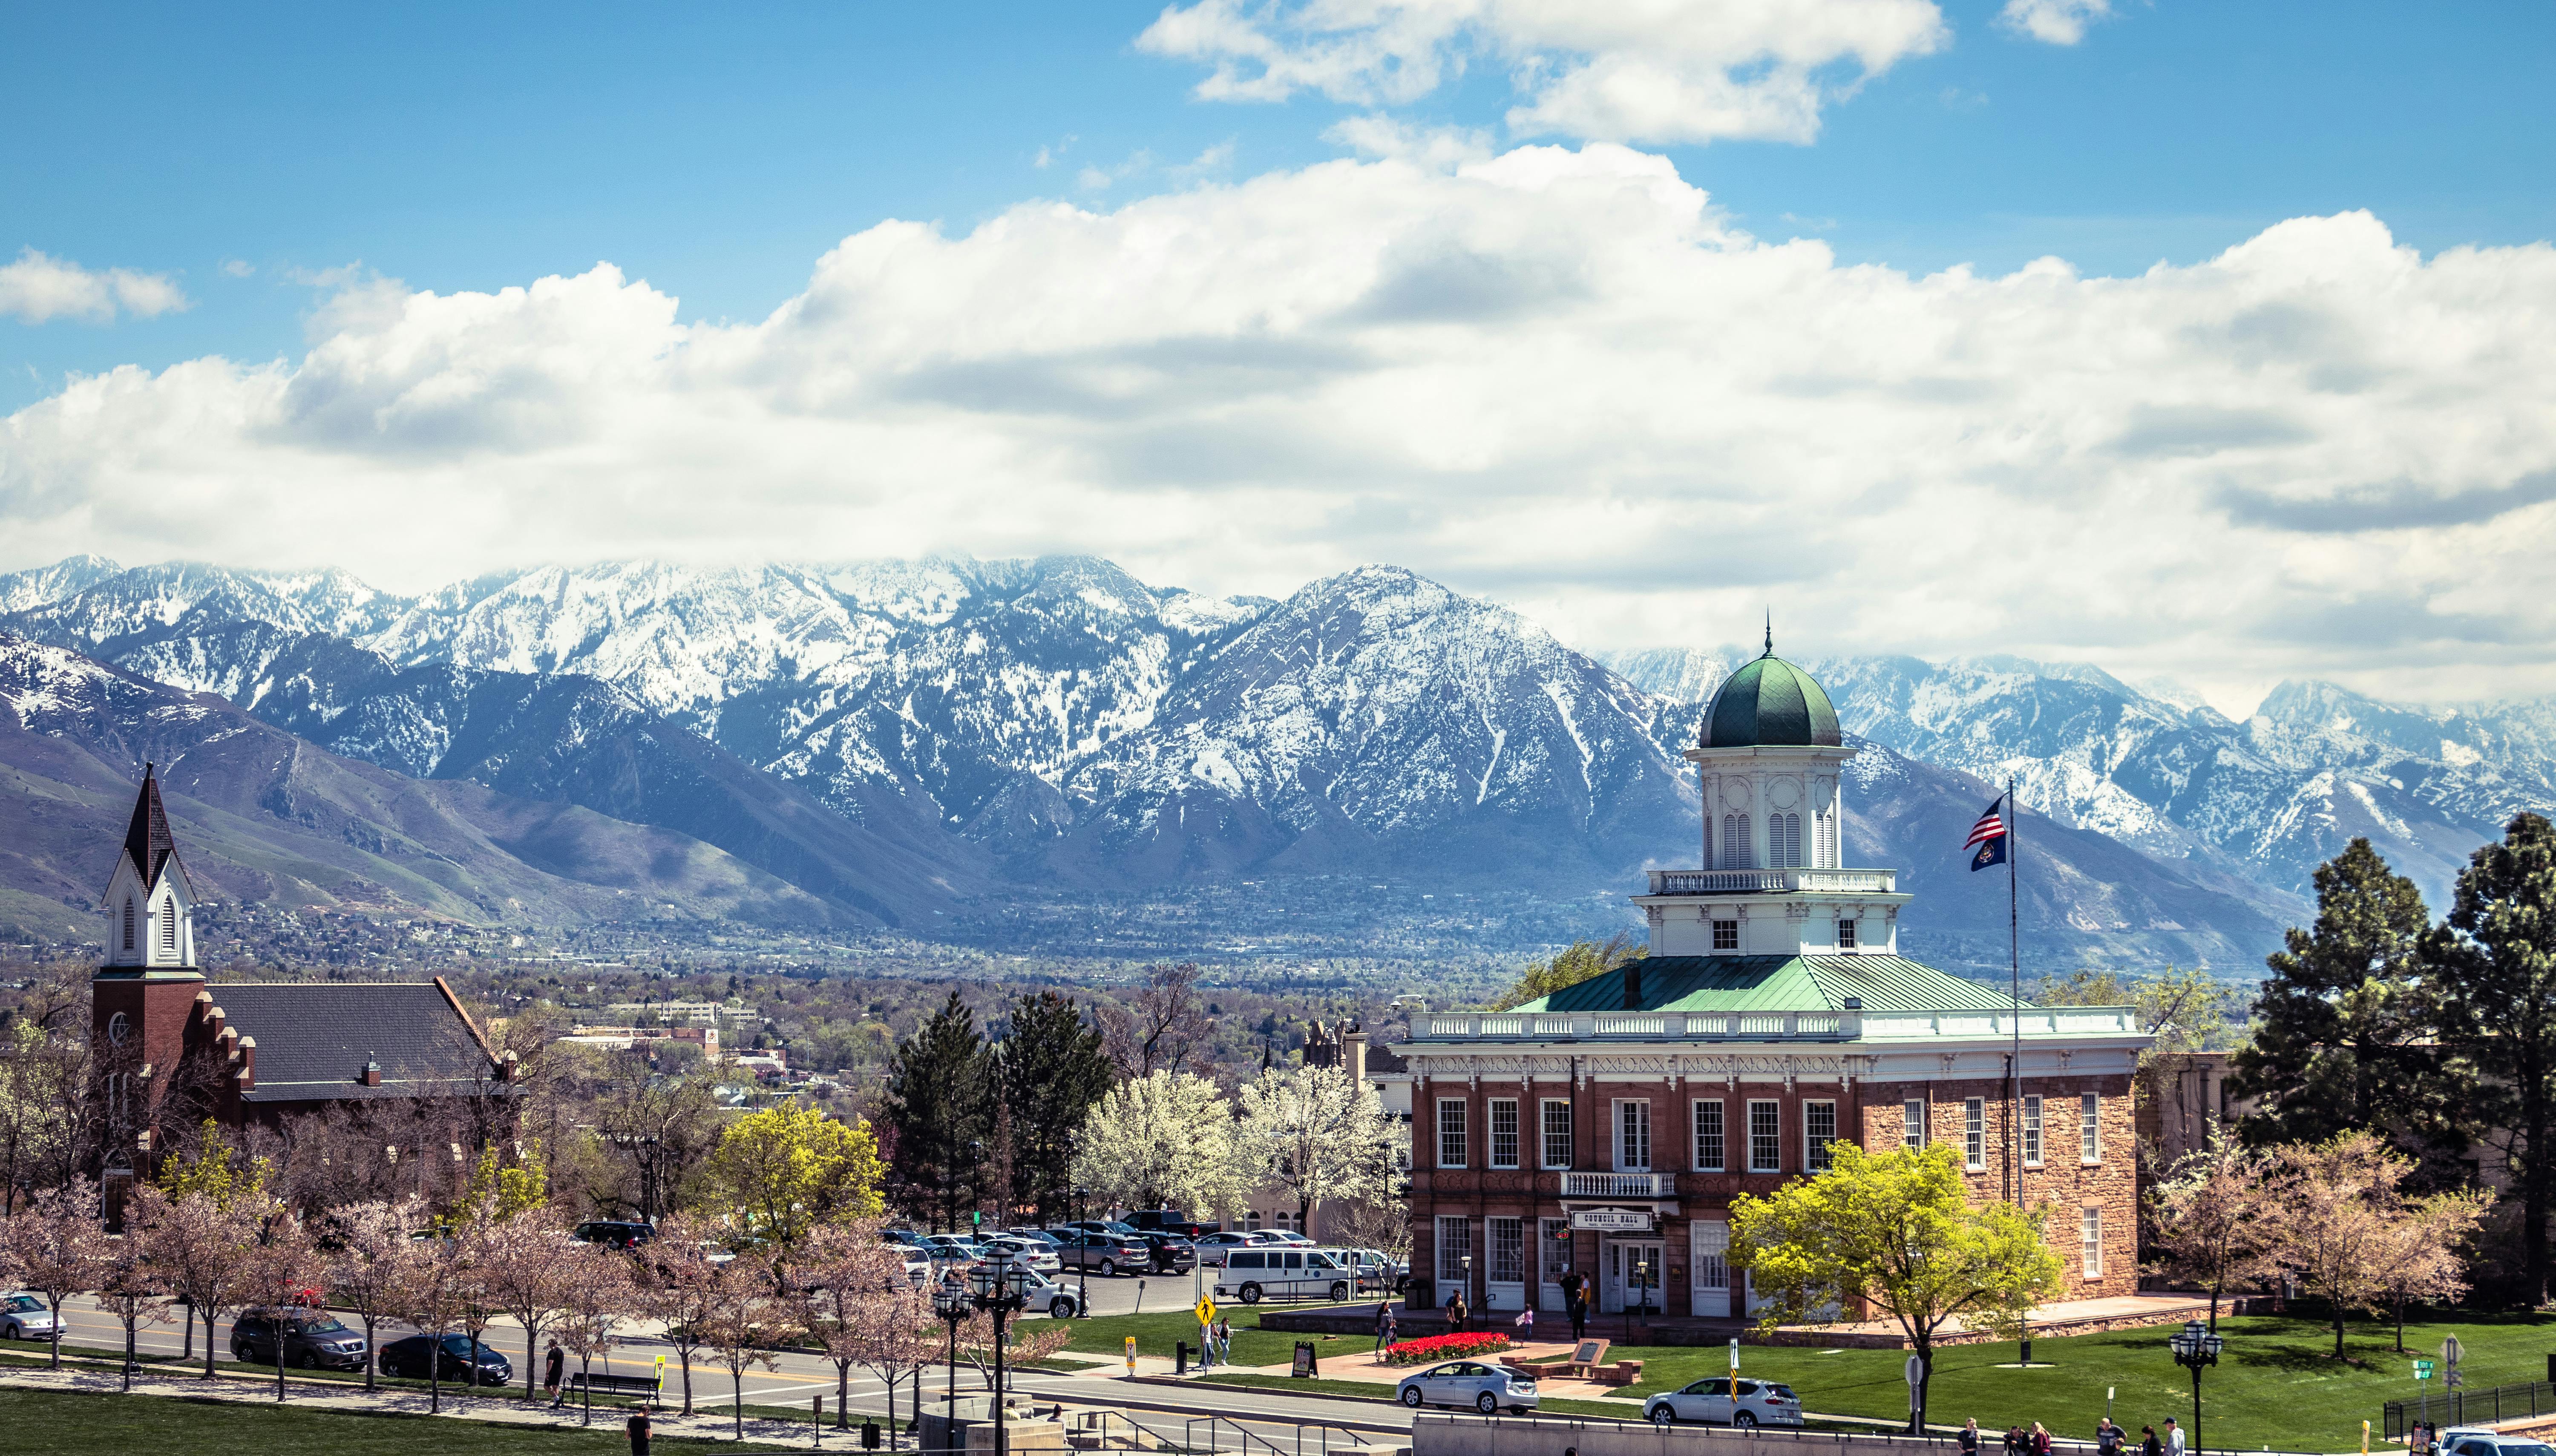
Use this quick framework to pick which Utah national parks fit your time, energy and photo goals — then build the rest of your trip around that core choice.
Map your timeframe: what to see in 1–2 days vs 3–7 days
If you only have 1–2 days, pick a single park or two that sit close together and focus on signature sights and one short hike. For example, a Moab-based quick trip can cover Arches highlights plus Canyonlands overlooks in a day or two, but expect rushed mornings and afternoon crowds⁽¹⁾⁽³⁾. With 3–7 days you can comfortably visit 2–4 parks, add a big hike (The Narrows or Angels Landing in Zion, or Delicate Arch at sunrise) and leave buffer time for driving and bad weather⁽⁴⁾.
- 1 day: One park — drive-to viewpoints, short paved walks, a single iconic photo stop (Delicate Arch, Bryce rim viewpoints).
- 2 days: One larger park plus a nearby quick stop (Zion plus Kolob Canyons or Arches plus Canyonlands)⁽¹⁾.
- 3–7 days: Build a loop: 3–4 parks with 1–2 full days at the show-stoppers (Zion, Bryce) and single-day visits to quieter parks (Capitol Reef, Canyonlands)⁽⁴⁾.
Match parks to traveler type: families, hikers, photographers, accessible travel
Quick pairings make planning easy — match needs to parks rather than forcing everyone into the same itinerary.
Families: Bryce and Capitol Reef — shorter, scenic overlooks, interpretive programs and fewer long technical hikes make these relaxed choices⁽²⁾.
Hikers/Backpackers: Zion (The Narrows, Angels Landing permit trail) and Canyonlands backcountry are top picks for multi-hour or overnight routes; plan permits and river logistics ahead⁽⁴⁾⁽⁵⁾.
Photographers: Arches at sunrise for balanced rock silhouettes, Bryce at golden hour for hoodoos, and Zion for dramatic slot-canyon light — schedule mornings/late afternoons to dodge crowds⁽¹⁾⁽³⁾.
Accessible or low-mobility travelers: All parks have at least a few paved viewpoints or short accessible loops (Rim overlooks at Bryce, the Riverside Walk in Zion). Don’t assume every trail is accessible; check park pages for details and shuttle rules before you go⁽²⁾.
Priority scorecard: how to weigh scenery, hiking difficulty, crowd level and permits
Make a simple scorecard: assign each criterion 1–5 and multiply by your personal weight. This helps translate vague preferences into a clear park pick.
| Criterion | What to ask | How to score (1–5) | Quick tip |
|---|---|---|---|
| Scenery | Do I want hoodoos, arches, canyons or cliffs? | 1 = low visual interest, 5 = iconic vistas | Bryce = hoodoos, Arches = silhouettes, Zion = walls and narrows⁽¹⁾ |
| Hiking difficulty | How many strenuous miles/technical sections? | 1 = easy walks, 5 = technical/exposed routes | Zion tends higher (permits/tough climbs), Capitol Reef lower for casual drives⁽⁴⁾ |
| Crowd level | Do I mind people at viewpoints or on trails? | 1 = very crowded, 5 = quiet | Peak summer and holidays spike crowds in Zion and Arches⁽¹⁾ |
| Permit/Logistics | Are permits or shuttles required? | 1 = heavy permitting, 5 = no permits | Angels Landing and some backcountry routes need permits — factor time to apply⁽⁵⁾ |
Sample trip goals and recommended park combinations (relaxing, active, photo-focused)
Match a trip goal to a tight park combo and day split. These combos are proven by common itineraries and real traveler feedback.
Relaxing (3–5 days): Capitol Reef + Bryce — scenic drives, orchard stops, easy overlooks. Great if you want more down-time and shorter drives⁽²⁾.
Active (5–7 days): Zion + Arches + Canyonlands — big hikes, technical canyons and a couple of high-energy summit/slot-canyon days. Leave a cushion day for permits or weather delays⁽¹⁾⁽³⁾.
Photo-focused (3–6 days): Arches + Bryce (+ Zion if time) — time sunrise at Delicate Arch and golden hour at Bryce amphitheaters. Plan to be on-site before sunrise to avoid crowds and get clean light⁽¹⁾.
Hidden insight: Don’t try to “do all five” in under 6 days — you’ll spend most of your time driving and miss prime light windows. If you must compress, pick parks that are geographically close (Moab pair, Zion/Bryce)⁽⁴⁾.
At-a-glance comparison: Side-by-side logistics for the Mighty 5

Quick practical facts to help you decide which of Utah’s Mighty 5 to prioritize. Below you’ll find nearest-airport logic and typical drive times, where fees and permits matter, crowd-season notes, shuttle/reservation flags, plus a one-glance recommendation for visit length and accessibility.
Nearest airports and typical drive times between parks
Most travelers fly into Salt Lake City (SLC) or Las Vegas (LAS) and build a loop from there; either hub works depending on which end you want to start or finish⁽2⁾. Arches and Canyonlands share Moab as a base and sit very close to each other (roughly 30–40 miles)⁽1⁾. Typical airport-to-park drives to know: Las Vegas → Zion ~2 h 50 min, Salt Lake City → Canyonlands area ~3 h 50 min (use SLC when you’re heading north)⁽3⁾.
Typical entrance fees, annual passes and permit complexity
Most parks charge a per-vehicle entrance fee or accept an America the Beautiful annual pass; check each park’s fees page before you go⁽15⁾. For permits: Zion’s popular Angels Landing requires a permit/lottery during high season⁽14⁾. Canyonlands and Capitol Reef require backcountry or special-use permits for overnight/backcountry travel (apply in advance)⁽9⁾⁽11⁾. Arches has timed-entry ticketing windows at peak times—read the park fee/reservation page for details⁽4⁾⁽5⁾.
Best seasons and crowd levels per park
Short version: spring and fall are peak windows for most parks (mild temps and big crowds). Zion can be most crowded in summer and holiday weekends because of shuttle traffic and slot-canyon popularity; Bryce is popular at sunrise/sunset for photographers but sees lighter overall visitation than Zion⁽2⁾. Capitol Reef is often the quietest of the five outside of orchard-pick season⁽2⁾.
Shuttle rules, reservation systems and peak-season restrictions
| Park | Nearest major airport (typ.) | Entrance / pass notes | Key permit / shuttle flags |
|---|---|---|---|
| Arches (Moab) | SLC or Grand Junction* | Vehicle fee or America the Beautiful; timed-entry at peak times⁽4⁾ | Timed-entry tickets and shuttle/taxi operator rules for group transport⁽5⁾ |
| Canyonlands (Island in the Sky / Needles) | SLC | Standard park fee or pass⁽8⁾ | Backcountry permits for overnight routes; limited services in-park⁽9⁾ |
| Capitol Reef (Torrey) | SLC | Standard fee or pass; cheaper crowds outside orchard season⁽10⁾ | Backcountry/special-use permits for some activities; limited shuttle needs⁽11⁾ |
| Bryce Canyon | Hurricane / LAS (for multi-park loops) | Vehicle fee or America the Beautiful; check park page for seasonal changes⁽6⁾ | Seasonal park shuttle service in high season⁽7⁾ |
| Zion (Springdale) | Las Vegas (best southern hub) | Vehicle fee or America the Beautiful; check for timed-entry windows⁽12⁾ | Zion Canyon Shuttle required in many months; Angels Landing needs a permit during regulated season⁽13⁾⁽14⁾ |
*Grand Junction (CO) is closer to Moab than SLC for some travelers but offers fewer flights — compare prices and drive times⁽3⁾.
Recommended visit length and accessibility overview at a glance
- Suggested time: plan 1–2 days for most parks; give Zion and Canyonlands 2+ days if you want to do major hikes or strips of backcountry⁽2⁾.
- Accessibility: each park lists accessible viewpoints and services on its NPS page. Most canyon rim viewpoints and visitor centers have ADA-accessible amenities; backcountry routes generally are not accessible⁽4⁾.
- Hidden insight: if you’re short on time, pair Arches + Canyonlands (same base) or Zion + Bryce (short drive) to maximize scenery with minimal extra driving⁽1⁾.
Quick pitfall to avoid: assume a pass or permit is optional. Timed-entry, shuttle requirements and backcountry permits vary by park and season—book as early as the park site recommends to avoid disappointment⁽4⁾⁽13⁾.
- Utah Mighty Five National Parks with Kids: Itinerary and Guide
- A (Very) Helpful Guide to Utah’s Mighty 5 Road Trip
- Utah’s Mighty 5 – The Ultimate Guide
- Fees & Passes – Arches National Park (NPS)
- Arch Taxi & Trail Shuttle Conditions – Arches (NPS)
- Fees & Passes – Bryce Canyon National Park (NPS)
- Park Shuttle Service – Bryce Canyon (NPS)
- Fees & Passes – Canyonlands National Park (NPS)
- Backcountry Permits – Canyonlands (NPS)
- Fees & Passes – Capitol Reef National Park (NPS)
- Permits & Reservations – Capitol Reef (NPS)
- Fees & Passes – Zion National Park (NPS)
- Zion Canyon Shuttle System – Zion (NPS)
- Angels Landing Permits – Zion (NPS)
- America the Beautiful Passes – National Parks (NPS)
Park-by-park quick guides: what makes each Mighty 5 unique

Quick, park-by-park notes to help you pick which of Utah’s Mighty 5 to prioritize on your trip. Below are what makes each park special, the best viewpoints and hikes to know about, and practical tips you can use when planning your utah national parks road trip.
Arches: signature geology, top viewpoints and must-see hikes
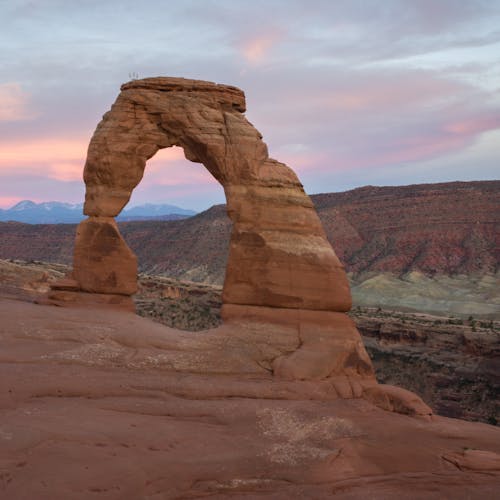
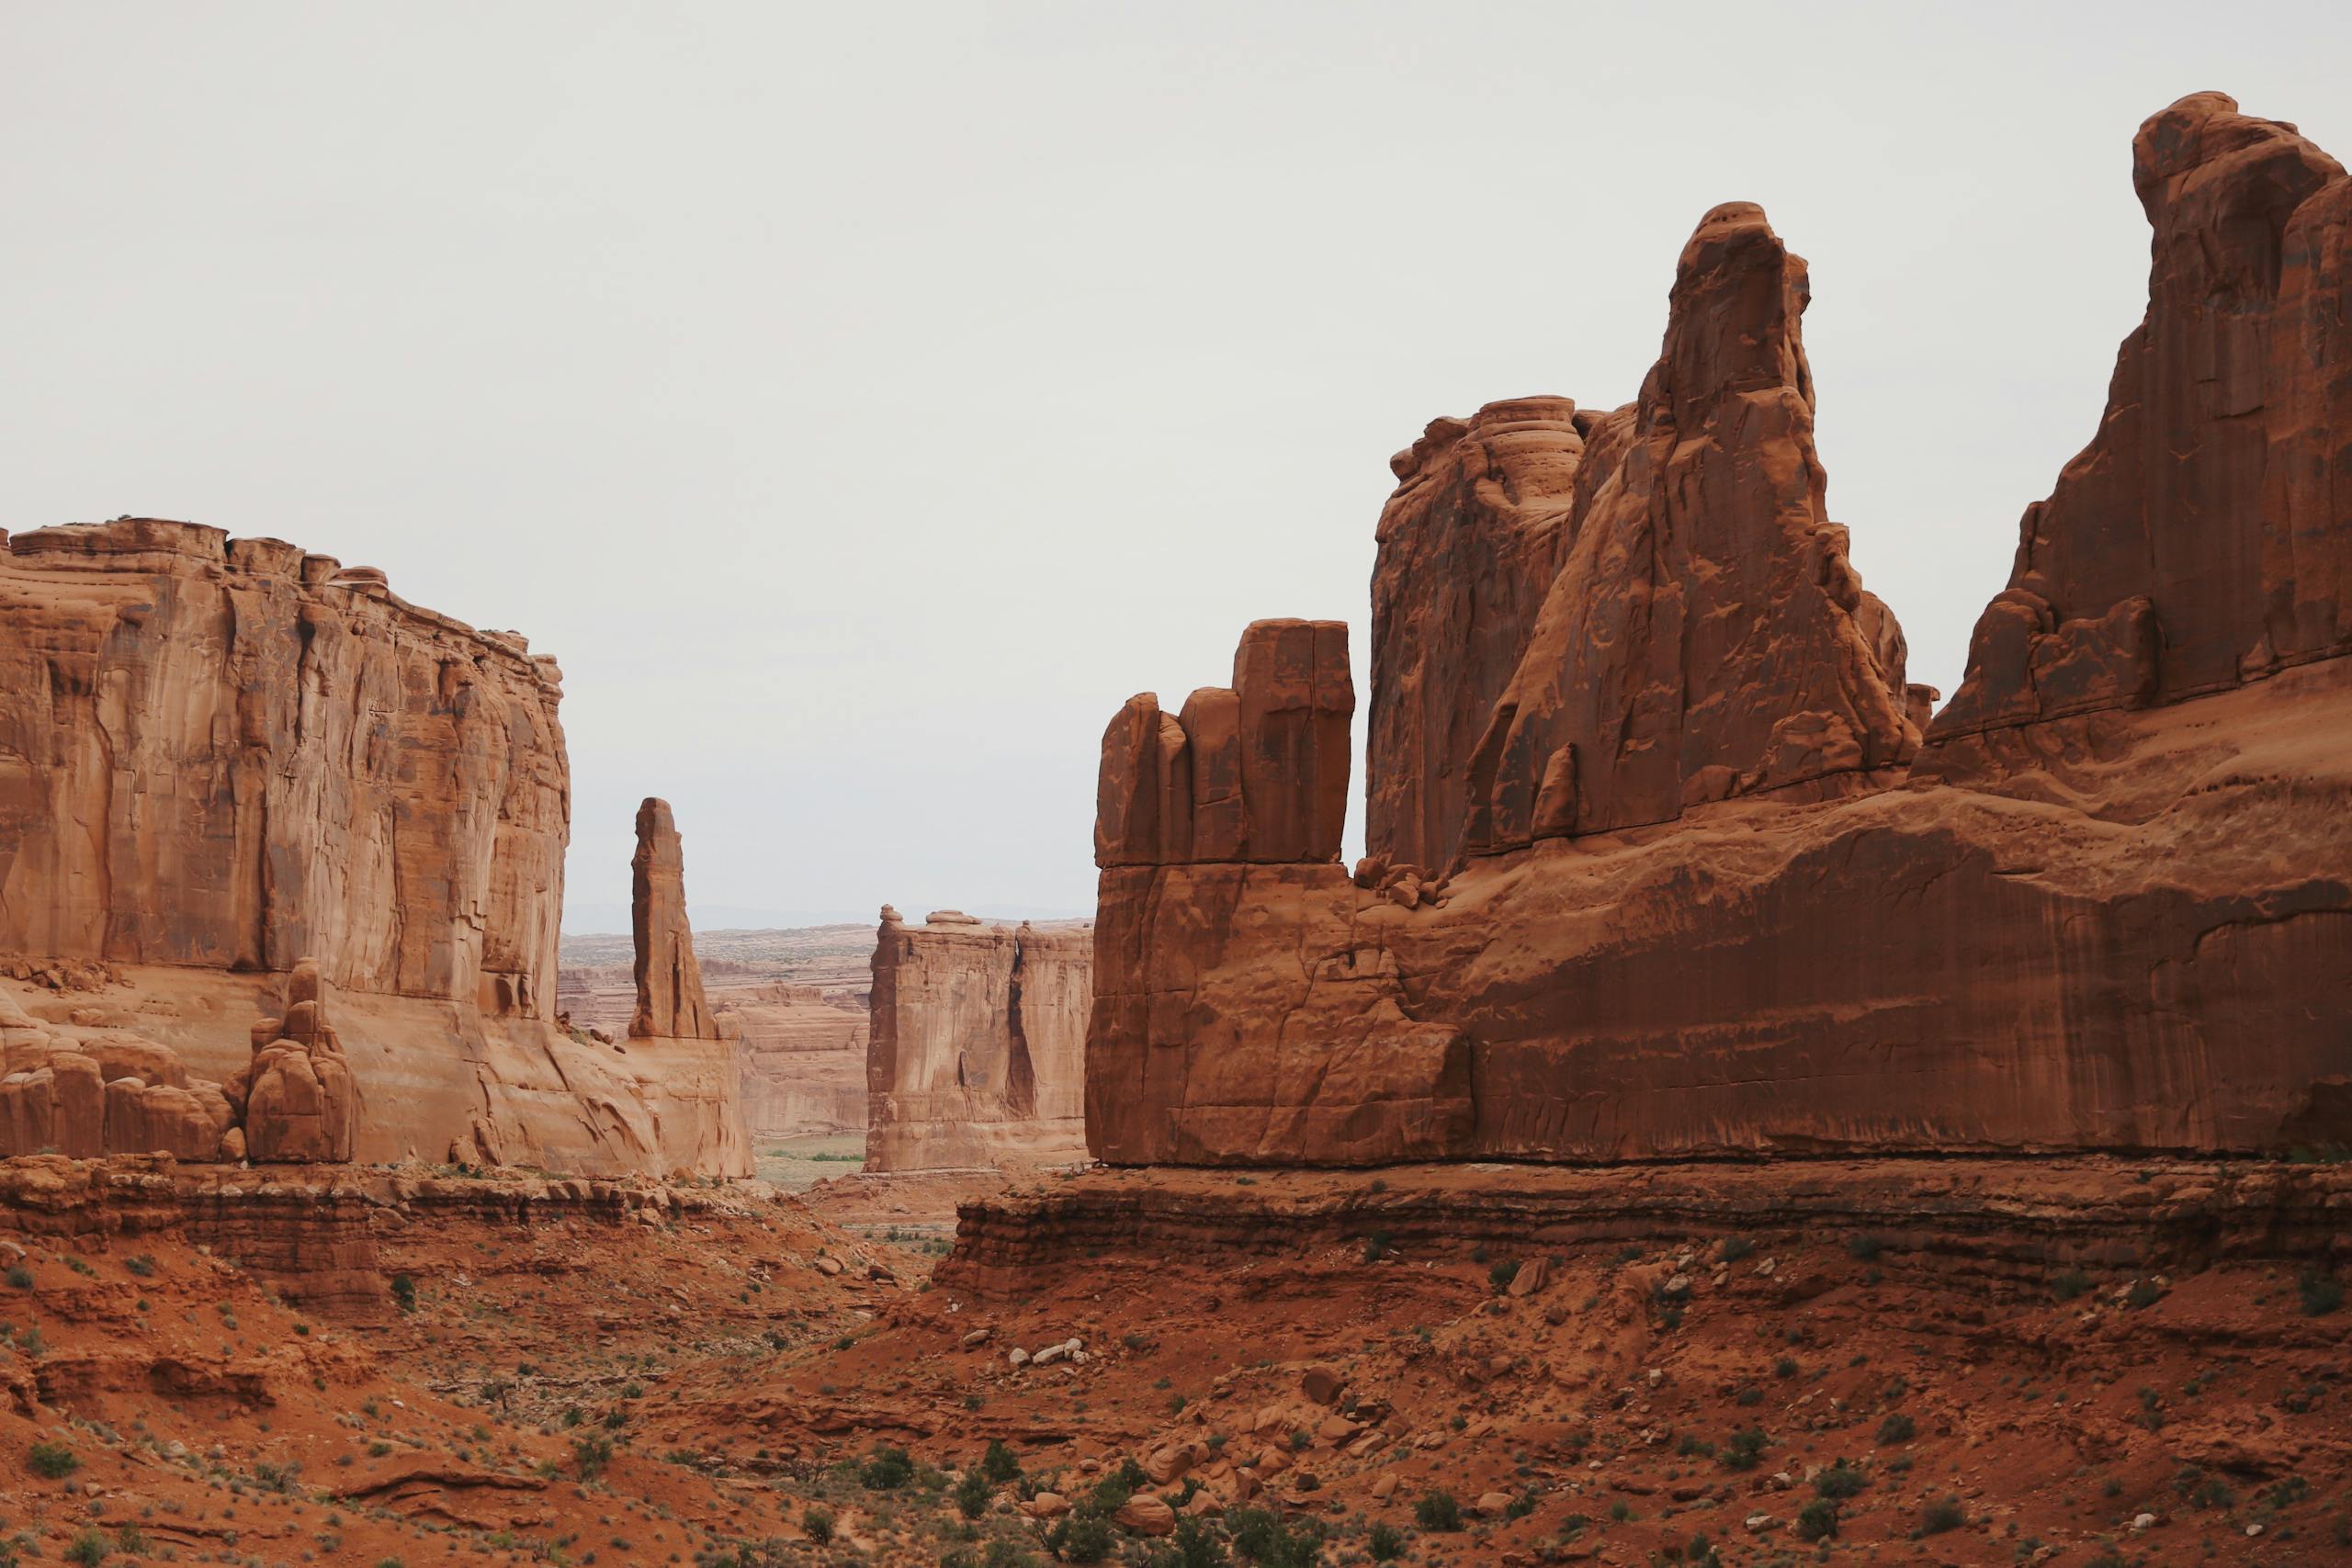
Why go: Arches has the highest concentration of natural stone arches on Earth and iconic formations like Delicate Arch — a must-see for first-timers.
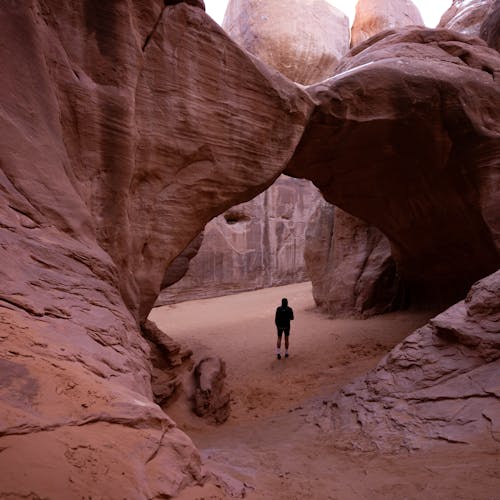
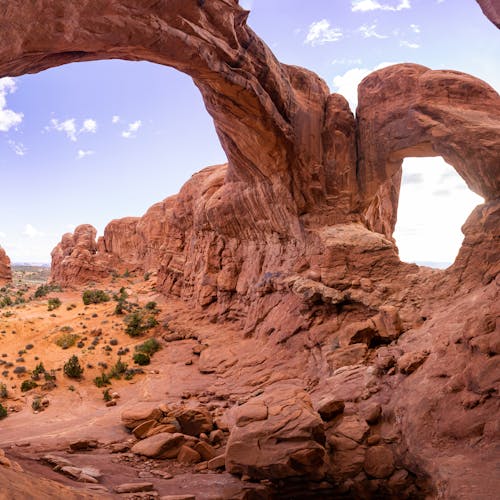
Top viewpoints & hikes: Delicate Arch (sunrise or late afternoon for light and fewer people) ⁽4⁾, Windows Section and Double Arch, Park Avenue, and Devil’s Garden (to Landscape Arch) ⁽4⁾. Parking fills early in high season; plan to arrive pre-dawn or late afternoon to avoid circling for spots ⁽3⁾.
Insider tip: If the Delicate Arch trailhead lot is full, the Delicate Arch viewpoint is an easier alternative for most visitors ⁽1⁾.
Bryce Canyon: amphitheaters, scenic drives and family-friendly overlooks
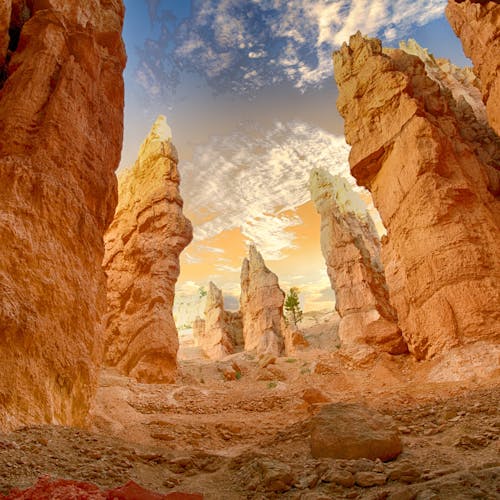
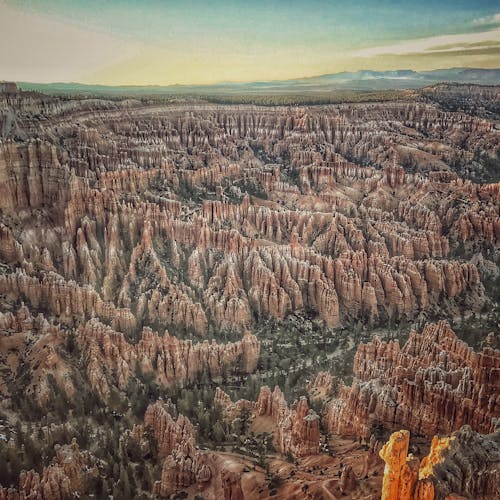
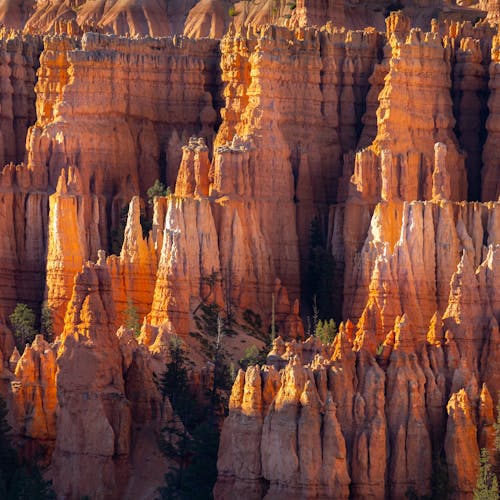
Why go: Bryce’s amphitheater of hoodoos offers surreal, photogenic spires and dramatic sunrise light that photographers dream about ⁽5⁾.
Top viewpoints & hikes: Sunrise Point, Sunset Point, Inspiration Point and Bryce Point for sweeping vistas; Navajo Loop–Queen’s Garden and Peekaboo Loop are compact but spectacular hikes into the hoodoos ⁽5⁾.
Insider tip: One full day gives a great overview, but staying for sunrise and sunset turns the experience from great to unforgettable ⁽2⁾.
Canyonlands: district differences, overlooks and backcountry options
Why go: Canyonlands is a tri-district park—Island in the Sky, The Needles and The Maze—so you pick the experience: easy overlooks, technical hikes, or true backcountry solitude ⁽6⁾.
Top viewpoints & hikes: Mesa Arch at sunrise, Grand View Point and Green River Overlook; Needles offers multi-day backpacking options, Maze requires serious route-finding and a high-clearance vehicle ⁽6⁾.
Insider tip: Pair Island in the Sky with Dead Horse Point State Park for dramatic canyon rim shots with fewer people ⁽3⁾.
Capitol Reef: geology, orchards and quieter scenic drives
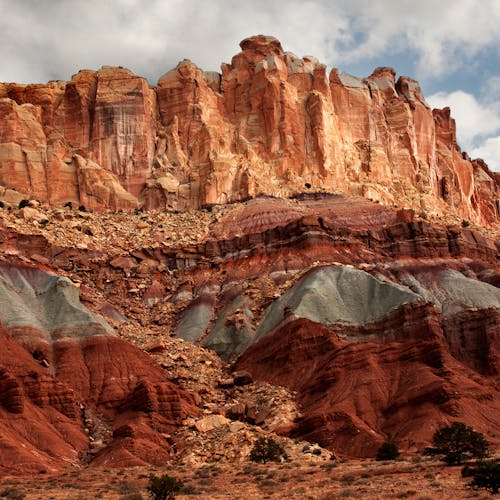
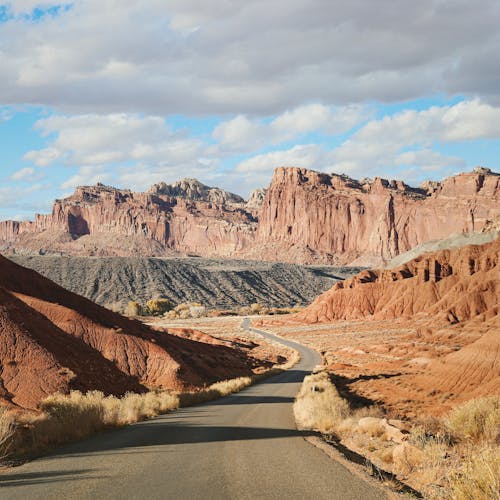
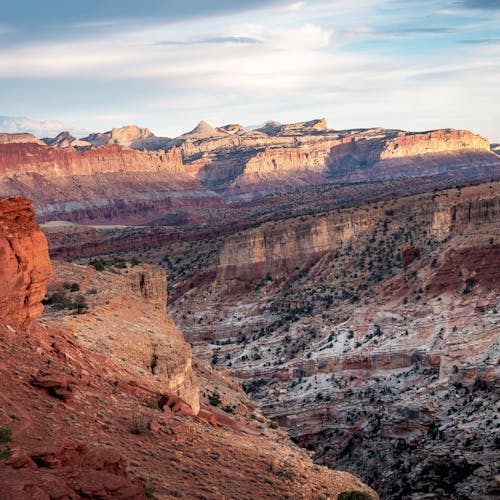
Why go: Capitol Reef showcases the Waterpocket Fold — a gentle, scenic geological fold — plus the historic Fruita orchards where you can pick fruit in season ⁽7⁾.
Top viewpoints & hikes: Panorama Point, Hickman Bridge, Capitol Gorge and Cassidy Arch for shorter, rewarding hikes; the Scenic Drive is peaceful compared with busier parks ⁽7⁾.
Insider tip: This park is the most underrated of the five—great if you want views with fewer crowds and a relaxed pace ⁽1⁾.
Zion: slot canyons, canyon rims and popular trail priorities
Why go: Zion’s sheer sandstone walls, narrow slot canyons like The Narrows, and adrenaline-packed Angels Landing make it a stand-out destination ⁽8⁾.
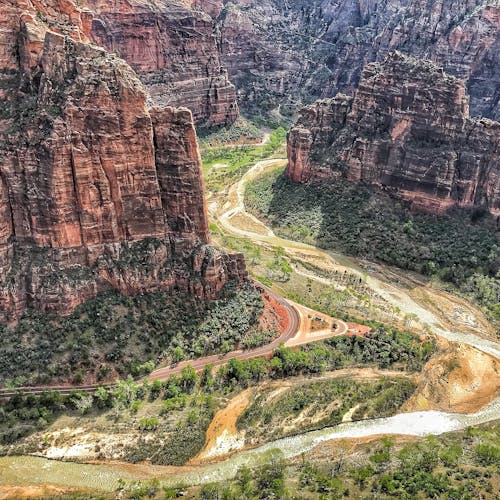
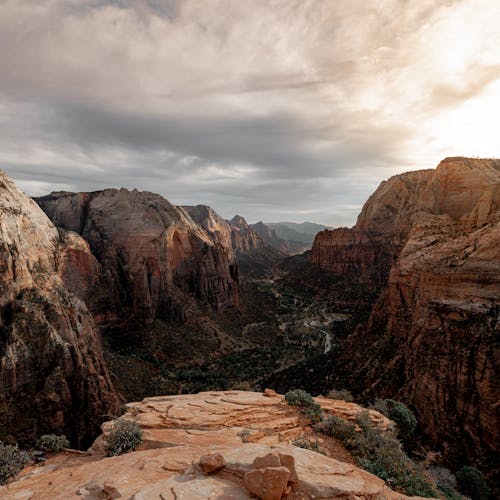
Top viewpoints & hikes: Canyon Overlook, Observation Point, Angels Landing (permit required in recent seasons), and hiking The Narrows (wading, proper footwear and flash-flood checks required) ⁽8⁾.
Insider tip: Zion is the busiest of the Mighty 5; plan early starts, reserve shuttles or timed entries when required, and prioritize one or two signature hikes so you don’t get overwhelmed by crowds ⁽3⁾.
For each park: suggested visit length, crowd expectations and who should prioritize it
| Park | Suggested visit | Crowd level | Who should prioritize |
|---|---|---|---|
| Arches | 1–2 days | High (parking early) | Photographers, short-hike hikers, Moab basecampers |
| Bryce Canyon | 1 day (add dawn/dusk) | Moderate (sunrise crowds) | Families, photographers, easy-hike lovers |
| Canyonlands | 1 day (Island in the Sky) to multiple days | Low–Moderate (varies by district) | Backcountry hikers, solitude seekers, photographers |
| Capitol Reef | 1 day (more if picking fruit) | Low | Relaxed travelers, geology buffs, families |
| Zion | 2–3 days | High (shuttles/timed entries) | Adventurous hikers, slot-canyon fans, photographers |
- Utah National Parks (A Helpful Guide to The Mighty 5)
- A Complete Guide to Visiting the National Parks in Utah in 2025
- How To Plan An Incredible Utah National Parks Road Trip
- Arches National Park — NPS
- Bryce Canyon National Park — NPS
- Canyonlands National Park — NPS
- Capitol Reef National Park — NPS
- Zion National Park — NPS
Timing, crowds and micro-schedules to avoid peak times

Timing your days—and the week you visit—makes a night-and-day difference in how much you enjoy Utah national parks. Below are practical windows, micro-schedules and hazards so you get the views with fewer crowds and less stress.
Best months and daily windows for each park (sunrise/sunset advantages)
| Park | Best months | Sunrise advantage | Sunset advantage |
|---|---|---|---|
| Arches | Mar–May, Sep–Oct⁽¹⁾ | Delicate Arch & Devil’s Garden are peaceful and golden-lit at sunrise⁽4⁾ | Windows and Balanced Rock glow at golden hour; fewer afternoon crowds⁽4⁾ |
| Bryce Canyon | Apr–May, Sep–Oct (also magical with winter snow)⁽3⁾ | Sunrise over the amphitheater = best light, smaller crowds⁽3⁾ | Hoodoos take on warm tones; good for late strolls after tour buses leave⁽5⁾ |
| Canyonlands (Island in the Sky) | Apr–May, Sep–Oct⁽2⁾ | Mesa Arch at sunrise—iconic photo with minimal people⁽4⁾ | Views quiet down late afternoon; watch for quick weather changes⁽2⁾ |
| Capitol Reef | Apr–May, Sep–Oct (less crowded year-round)⁽3⁾ | Early light opens long scenic drives and hikes with solitude⁽3⁾ | Sunset at Cathedral Valley and Fruita orchards is serene⁽5⁾ |
| Zion | Apr–May, Sep–Oct; winter quiet but cold⁽3⁾ | Start hikes like Angels Landing before the shuttle rush and midday heat⁽3⁾ | Canyon rim viewpoints are stunning and some crowds thin after 5pm⁽1⁾ |
Weekday vs weekend crowd patterns and holiday season notes
Weekdays are your friend—**arrive Tuesday–Thursday** when possible. Weekends, school breaks and federal holidays (Memorial Day, 4th of July, Labor Day, Thanksgiving week) bring peak crowds and full lots⁽1⁾. Zion and popular trailheads fill earliest; Arches has timed-entry and heavy spring/summer demand—plan/reserve ahead⁽3⁾⁽4⁾.
Daily micro-schedules: sample early-morning and late-afternoon plans to skip lines
Sample early-morning plan (works at most parks):
- 4:30–6:00am: Arrive at park entrance so you’re driving in at sunrise (check sunrise times)⁽4⁾
- 6:00–9:00am: Knock out the marquee hike (Delicate Arch / Angels Landing / Mesa Arch) while crowds are low⁽1⁾
- 9:30am–noon: Breakfast, shorter overlooks, visitor center—avoid midday trail congestion⁽4⁾
Sample late-afternoon plan:
- 3:00–4:30pm: Arrive to grab parking and cooler temps
- 4:30–7:30pm: Short hikes and golden-hour viewpoints; leave as tour groups depart⁽5⁾
Weather windows and seasonal hazards that affect timing
Summer heat (often >100°F in exposed areas) makes early starts essential and midday hiking risky—carry lots of water⁽2⁾. Monsoon season brings sudden thunderstorms and flash-flood risk in slot canyons and narrow washes—avoid slot canyon trips if storms are forecast⁽3⁾⁽4⁾. Winter brings snow/ice on rims and trails (Bryce is especially scenic but slippery) so plan traction devices and check road closures⁽3⁾. Always check park alerts the day before and adapt your schedule to forecasts⁽3⁾.
Quick morning checklist:
- Headlamp/flashlight, 2–3L water, layered clothing, permit/shuttle info, park alerts
- Utah National Parks: Tips for Planning a Road Trip to Utah’s Mighty 5
- When to Visit Utah’s National Parks: Tour the Mighty Five
- Best Time to Visit Southern Utah
- Utah National Parks Road Trip: A 10 Day Itinerary
- Ultimate Utah Mighty 5 National Park Road Trip Itinerary
Ready-made 3–7 day itineraries by traveler profile

Below are ready-made 3–7 day routes tailored to different traveler types. Each mini-itinerary gives the park pairings, where to base, daily highlights and the single most important tip to keep your trip smooth.
3-day quick loop: highlights if you have one long weekend
If you only have a long weekend, focus on two nearby parks to avoid long drives. The classic pick is Zion + Bryce, which gives dramatic canyons and Bryce’s amphitheaters in a compact route⁽¹⁾. Plan two big windows: sunrise in Bryce and an early morning slot in Zion to dodge crowds and secure parking⁽¹⁾.
Quick sample: Day 1 arrive and late-afternoon viewpoint in Zion; Day 2 hike a Zion highlight in the morning and drive to Bryce mid-afternoon; Day 3 sunrise at Bryce Point then a short Navajo Loop/Queen’s Garden hike⁽¹⁾. Top tip: book lodging early in Spring/Fall and get to trailheads before 8am to avoid full lots⁽¹⁾.
4–5 day moderate loop: balanced sightseeing and short hikes
A 4–5 day window lets you add one Moab park (Arches or Canyonlands) to a Zion–Bryce start, or spend extra time in Capitol Reef for a quieter stretch⁽²⁾. Example: base in Moab for two nights (Arches + Island in the Sky), then drive to Capitol Reef for scenic drives, finish with Bryce/Zion as time allows⁽²⁾.
Include one half-day “buffer” to rest or take a short scenic drive—this prevents the itinerary from feeling rushed and lets you swap in a late-afternoon viewpoint if a hike gets canceled due to weather⁽²⁾.
6–7 day deep dive: include two to three parks with buffer time
A full week can cover three parks comfortably or all five on a brisk loop using efficient base towns (Moab, Torrey, Bryce/Zion gateway towns)⁽²⁾. Typical sequencing is Moab (Arches/Canyonlands) → Capitol Reef → Bryce → Zion for a logical driving flow and fewer backtracks⁽²⁾.
Build in at least one rest/gear day for packing, shuttle waits or permit contingencies. If planning Angels Landing, check the permit/lottery rules well before travel as they can change your plan⁽⁴⁾.
Family-friendly itineraries with shorter walks and kid breaks
Keep daily hiking to 1–3 hours with frequent breaks and one “wow” stop per day: Balanced options are easy overlooks in each park, short paved trails like some viewpoints in Bryce and family-friendly river walks in Zion⁽¹⁾. Bring snacks, a simple first-aid kit and plan afternoon downtime away from the sun.
Photographer’s itinerary with golden-hour timing and viewpoint order
Sequence your stops to hit key viewpoints at sunrise and sunset. For example, aim for Delicate Arch or Windows in Arches at golden hour, Bryce Point at sunrise and Canyon Overlook/Angels Landing silhouettes at sunset in Zion for dramatic light⁽¹⁾. Start hikes so you’re finishing at a viewpoint as golden hour begins and scout parking a day early.
Accessible-travel itinerary focusing on wheelchair-friendly viewpoints and services
Prioritize paved overlooks, visitor-center exhibits and shuttle-served viewpoints. Zion’s shuttle and lower canyon services can assist mobility-limited visitors; check each park’s accessibility page and shuttle rules in advance and call the park if you need specific accommodations or accessible shuttle details⁽⁵⁾. Reserve accessible parking early and confirm restroom and water refill availability at visitor centers.
| Itinerary | Parks | Base town | Why it works |
|---|---|---|---|
| 3-day quick | Zion + Bryce | Springdale / Bryce Canyon City | Short drives, sunrise/sunset focus⁽¹⁾ |
| 4–5 day moderate | Moab + Capitol Reef + Bryce | Moab / Torrey | Balance hiking + scenic drives⁽²⁾ |
| 6–7 day deep | Arches, Canyonlands, Capitol Reef, Bryce, Zion | Moab → Torrey → Bryce/Zion area | Full coverage with buffers⁽²⁾ |
Final quick rules of thumb: start early, plan one buffer day per five days, book lodging/campgrounds well ahead in high season, and always check shuttle and permit pages before finalizing times for popular trails⁽²⁾⁽⁵⁾.
- “How To Visit Zion and Bryce Canyon: Epic 3-Day Road Trip,” We’re in the Rockies
- “Road Trip Southern Utah’s ‘Mighty Five’ National Parks in One Week,” One More Step Travels
- “How to Sightsee Utah National Parks in 3 Days,” Sparks Hikes Mountains
- Angels Landing permit info, National Park Service
- Zion shuttle and visitor info, National Park Service
Detailed visitor logistics: permits, shuttles and reservations
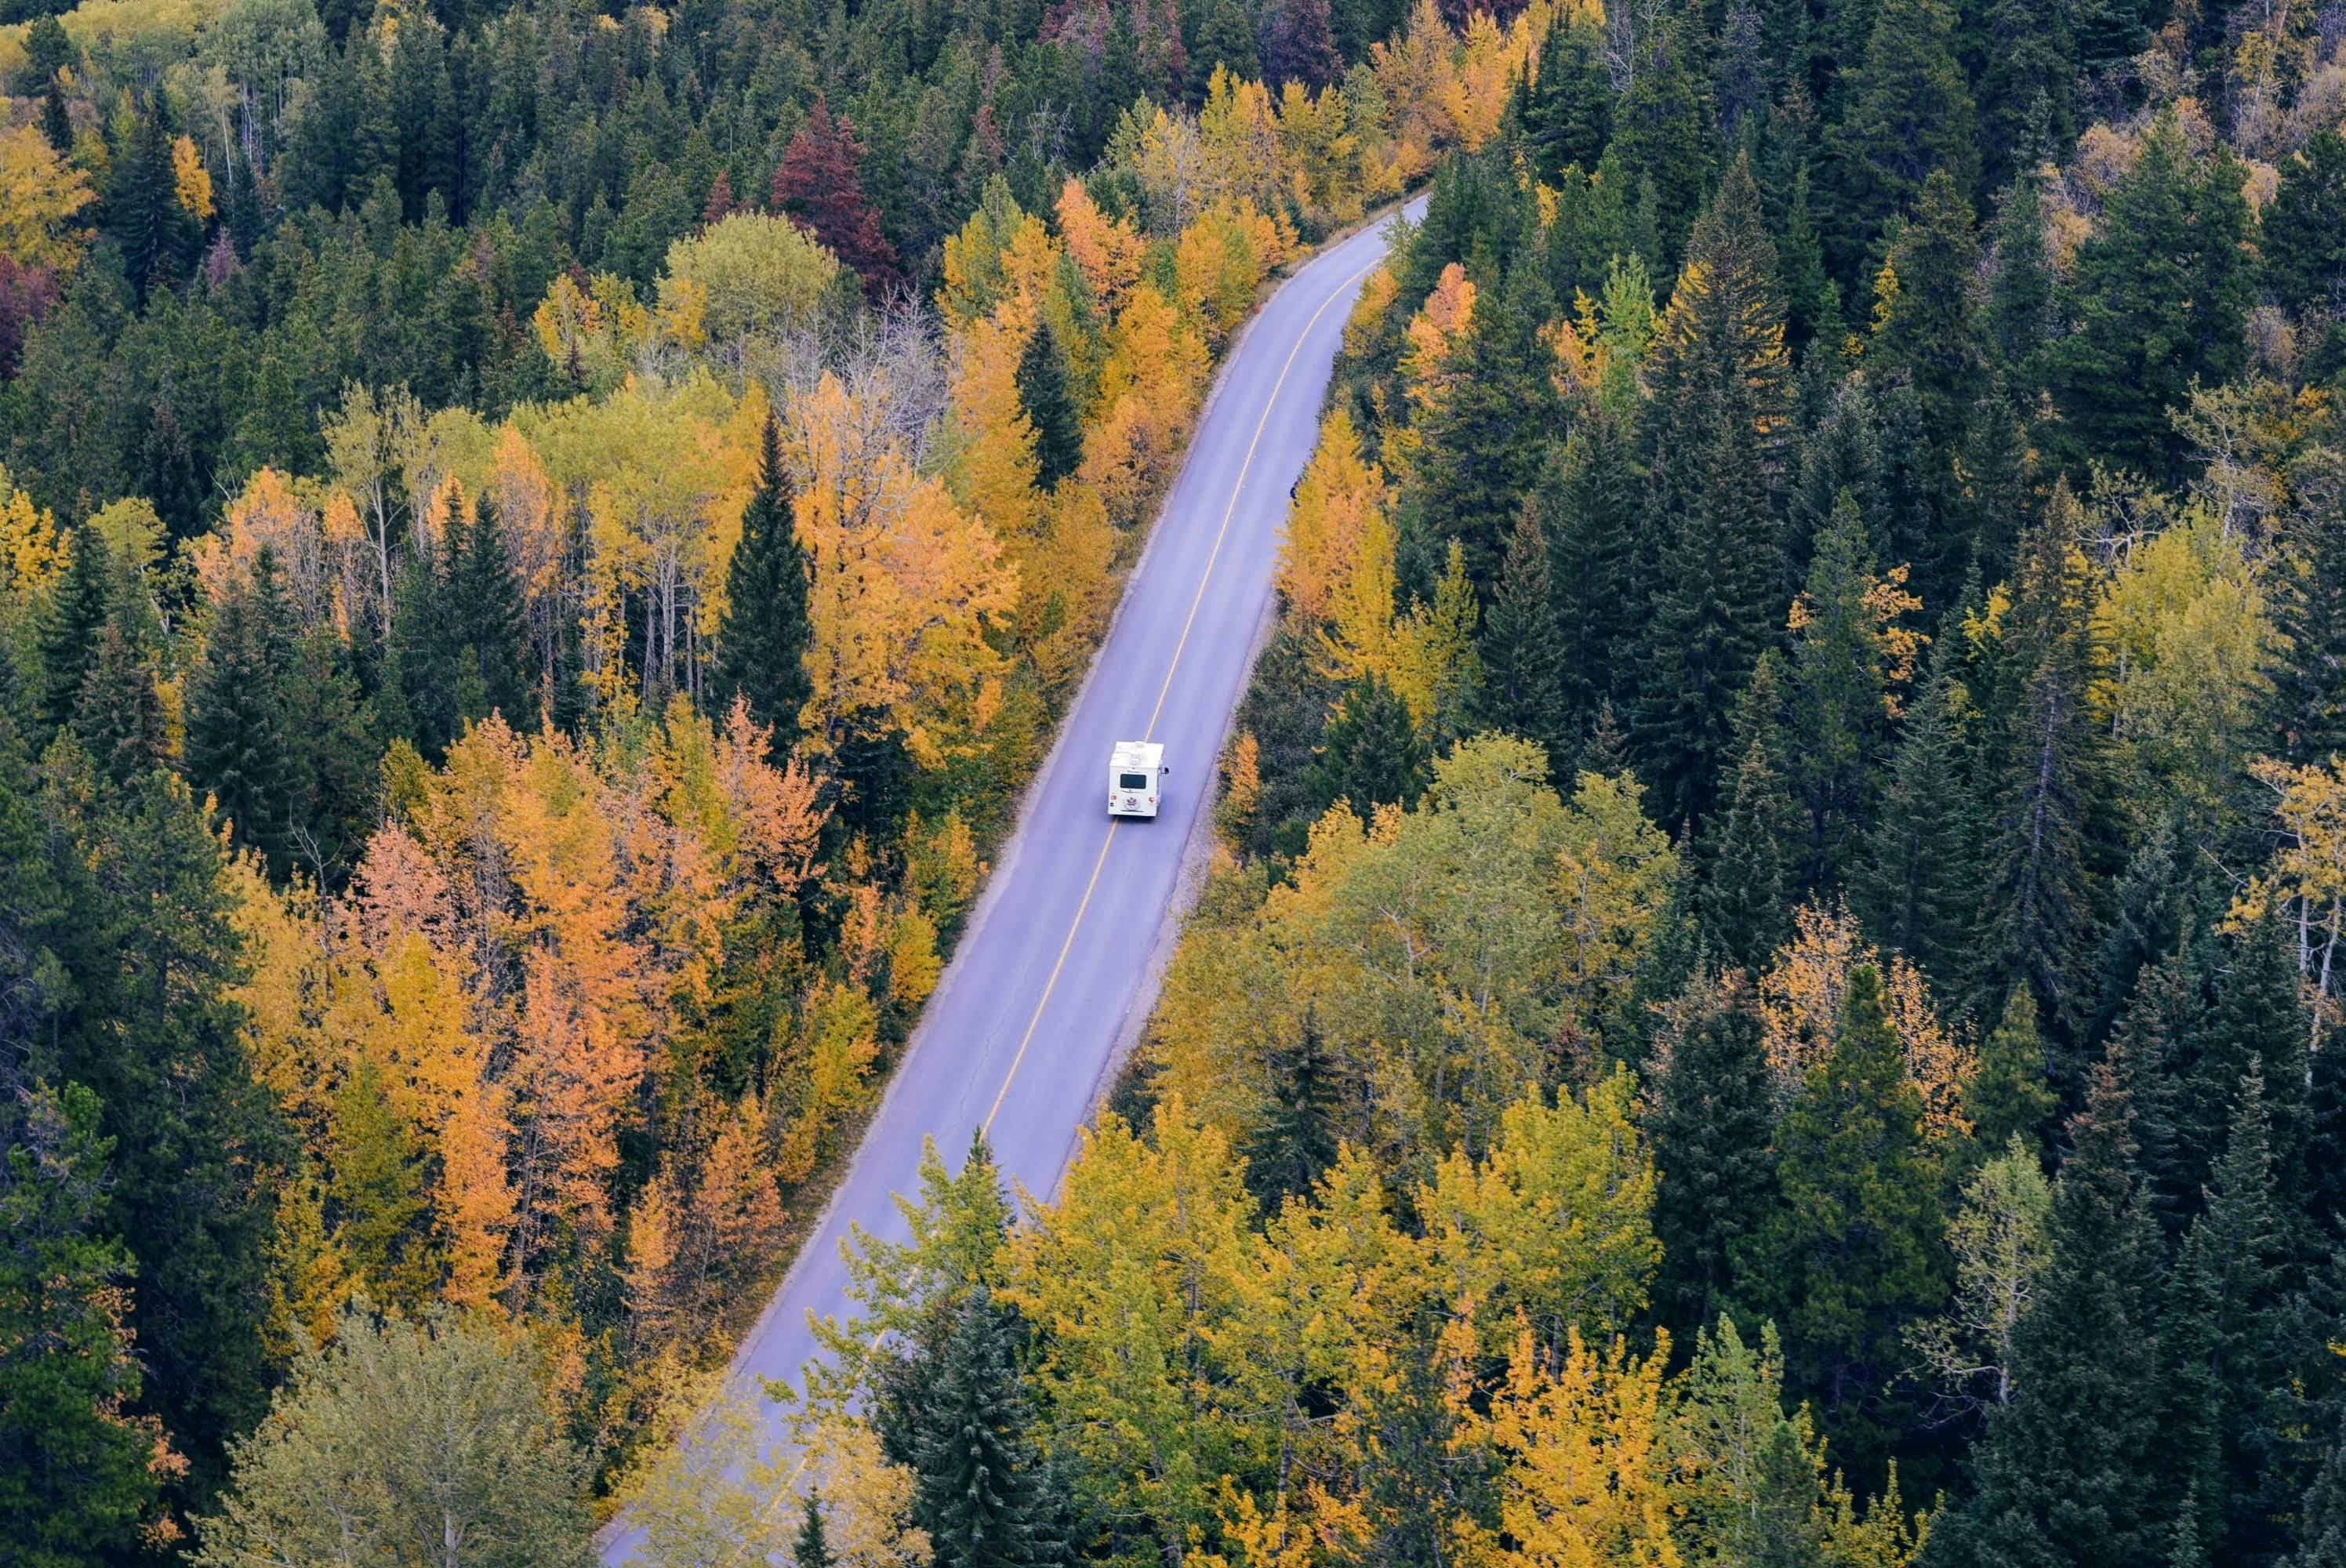
Quick logistics here are the backbone of any smooth Utah national parks trip. Below I break down what actually needs a permit, how the shuttle and timed-entry systems work, where to get real-time closures, and practical parking strategies so you don’t waste hours circling a lot.
Which activities commonly need permits (backcountry, popular trails) and how to apply
Most day-hikes don’t need special permission, but several high-demand or technical activities do. Angels Landing requires a permit year‑round and uses a Recreation.gov lottery system for allocations⁽1⁾⁽2⁾. Technical canyoneering routes and top‑down trips in The Narrows also need permits; apply via Recreation.gov or the park’s permitting pages⁽2⁾. Overnight backcountry trips in Canyonlands and Capitol Reef require backcountry permits—get these through each park’s NPS page or Recreation.gov and book early for summer dates⁽6⁾⁽2⁾.
Quick permit checklist:
- Angels Landing: permit (seasonal lottery + day‑before draws)⁽1⁾
- The Narrows (top‑down): permit for multi‑day/top‑down trips⁽2⁾
- Technical canyoneering & overnight backcountry: park permit via Recreation.gov or visitor center⁽6⁾⁽2⁾
Shuttle systems
Shuttles remove the parking headache at Zion and Bryce during peak months. Know the basics and plan to use them instead of fighting for curbside parking.
| Park | Shuttle? | Timed entry? | Notes |
|---|---|---|---|
| Zion | Yes (mandatory in Zion Canyon seasonally) | No general park timed‑entry; Angels Landing permit required | Board at Visitor Center; private cars restricted in canyon season⁽4⁾⁽1⁾ |
| Bryce Canyon | Yes (May–Sept, free) | No | Shuttle hits major overlooks—great for sunrise plans⁽5⁾ |
| Arches | No regular shuttle | Timed‑entry Apr–Oct | Timed‑entry doesn’t guarantee close parking at Delicate Arch—arrive early⁽3⁾ |
Park-entry reservations and seasonal closures to plan for
Arches uses a timed‑entry reservation system in high season—book on Recreation.gov months ahead for spring/summer weekends⁽3⁾. Zion doesn’t require a general park reservation but enforces the shuttle in canyon and keeps route‑specific permits (Angels Landing) in place year‑round⁽4⁾⁽1⁾. Seasonal closures (snow on Bryce roads, flash‑flood warnings in slot canyons) happen—always check the park’s alerts page before travel⁽7⁾.
Visitor centers, hours, and where to get current trail/closure info
Visitor centers are your fastest source of current trail conditions, permit status and real‑time closures—ask rangers about recent weather impacts and recommended alternate routes. For 24/7 updates, use the park’s NPS “Alerts & Conditions” page and Recreation.gov for permit availability⁽7⁾⁽2⁾.
Parking tips, overflow lots and early arrival vs timed-entry strategies
Short version: arrive early or use shuttles. For Delicate Arch and Mesa Arch, lots fill before sunrise on busy days; if you hold a timed‑entry pass for Arches, don’t assume parking will be open right next to the trailhead—plan side‑parking or a later loop as backup⁽3⁾. Use overflow lots and satellite parking where offered and aim for first shuttle runs (or arrive before 7 AM) to beat the crush. If you can, book Angels Landing or other permit lotteries months ahead rather than relying on day‑of draws⁽1⁾.
Pro tip: save park websites in your browser and screenshot key permit confirmations—cell coverage is spotty in the parks, and paper or screenshots beat waiting for a signal.
- Angels Landing Permit — Zion National Park (NPS)
- Recreation.gov (permits & reservations)
- Timed‑Entry Reservation — Arches National Park (NPS)
- Zion Shuttle System — Zion National Park (NPS)
- Bryce Canyon Shuttle — Bryce Canyon National Park (NPS)
- Backcountry Permits — Canyonlands National Park (NPS)
- NPS Alerts & Conditions
- A Complete Guide to Visiting the National Parks in Utah — CS Ginger
- How To Plan An Incredible Utah National Parks Road Trip — Wheatless Wanderlust
- Utah National Parks Road Trip Planning Guide (2025) — Sunny Sports
Accessibility, facilities and services for every park

Quick practical info to help everyone — families, wheelchair users, RV drivers or solo hikers — choose the best services and plan expectations across Utah national parks. Below I break down what’s reliably accessible, where to camp with an RV and how to handle medical or family needs on the road.
Accessible trails, viewpoints and facilities: consistent breakdown by park
Each park has a handful of paved or hard-packed routes and improved viewpoints, but the mix varies — so don’t assume “accessible” means the same thing everywhere. Here’s a short, park-by-park cheat sheet:
- Arches: Vehicle pullouts at many viewpoints and an accessible Visitor Center with restrooms and exhibits; some short paved overlooks, but most scenic viewpoints require uneven terrain or ramps to get closer⁽¹⁾.
- Bryce Canyon: Major overlook areas (Sunrise, Sunset, Inspiration) have accessible parking/ramps and an accessible Visitor Center with captioned film; high elevation can make longer walks tiring⁽³⁾.
- Canyonlands: Island in the Sky offers accessible visitor facilities and a few easy overlooks; most trails are rugged and not wheelchair-friendly⁽¹⁾.
- Capitol Reef: Visitor Center, paved petroglyph boardwalk and several picnic areas are accessible; many scenic drives offer good viewpoints from the car⁽¹⁾.
- Zion: Pa’rus Trail, Riverside Walk and many shuttle stops are wheelchair-accessible; park shuttles are lift-equipped and some buildings have accessible exhibits and restrooms⁽²⁾.
Pro tip: If you need graded access or assistance, call the park’s visitor center ahead—staff can tell you which overlooks have steeper ramps or gravel approaches and whether shuttle exceptions apply⁽²⁾.
Camping types and RV services: campgrounds, hookups and first-come rules
Most park campgrounds are primitive or offer only basic services. Full hookups are rare; dump stations exist at or near select parks. Reservations are increasingly required in peak season, but a few sites remain first-come.
| Park | Main Campground | Reservations? | Hookups / Dump |
|---|---|---|---|
| Arches | Devils Garden (near Moab) | Reservations for many sites; some first-come | No full hookups; no dump inside park⁽¹⁾ |
| Bryce Canyon | North / Sunset Campground | Mixed — some loops reserve, some first-come | No hookups; dump station in nearby town⁽³⁾ |
| Zion | Watchman / South | Reservations recommended; some first-come | Watchman has limited electrical sites and on-site dump nearby⁽²⁾ |
Hidden insight: Road-trippers often save stress by staging larger RVs in gateway towns (Moab, Springdale, Panguitch, Torrey) where full services are easier to find.
Medical, cell coverage and where to find emergency services
Medical facilities are typically in gateway towns — Moab for Arches/Canyonlands, Springdale for Zion, Panguitch/Red Canyon for Bryce, Torrey for Capitol Reef. Cell coverage is spotty: strong near towns and main canyon roads, weak or none in backcountry and many overlooks⁽¹⁾⁽²⁾⁽³⁾. In an emergency call 911; parks have ranger-led emergency response but remote rescues can take time.
Actionable advice: Carry a physical map, tell someone your plan, and consider a satellite messenger (Garmin inReach) if you’ll hike off-trail or into slot canyons.
Family amenities: playgrounds, ranger programs and junior ranger opportunities
All five parks run Junior Ranger programs (free or low-cost booklets and badges) and seasonal ranger talks or walks — excellent for kids and a quick way to log easy activities between viewpoints⁽¹⁾⁽²⁾⁽³⁾. Playgrounds are not standard inside parks; Watchman Campground (Zion) and some visitor centers have picnic areas and play-friendly spaces.
- Tip for families: Download Junior Ranger booklets ahead of time or pick them up at visitor centers to turn rest stops into learning time. Ranger programs often run mornings and early evenings in summer.
- Kid-friendly routing: Pair short, accessible walks (Pa’rus, Riverside Walk, Bryce overlooks) with picnic breaks to keep younger visitors happy.
- Accessibility in Utah’s Mighty 5 National Parks — Visit Utah
- Accessibility — Zion National Park (NPS)
- Accessibility — Bryce Canyon National Park (NPS)
Practical lodging, camping and cost guidance by route
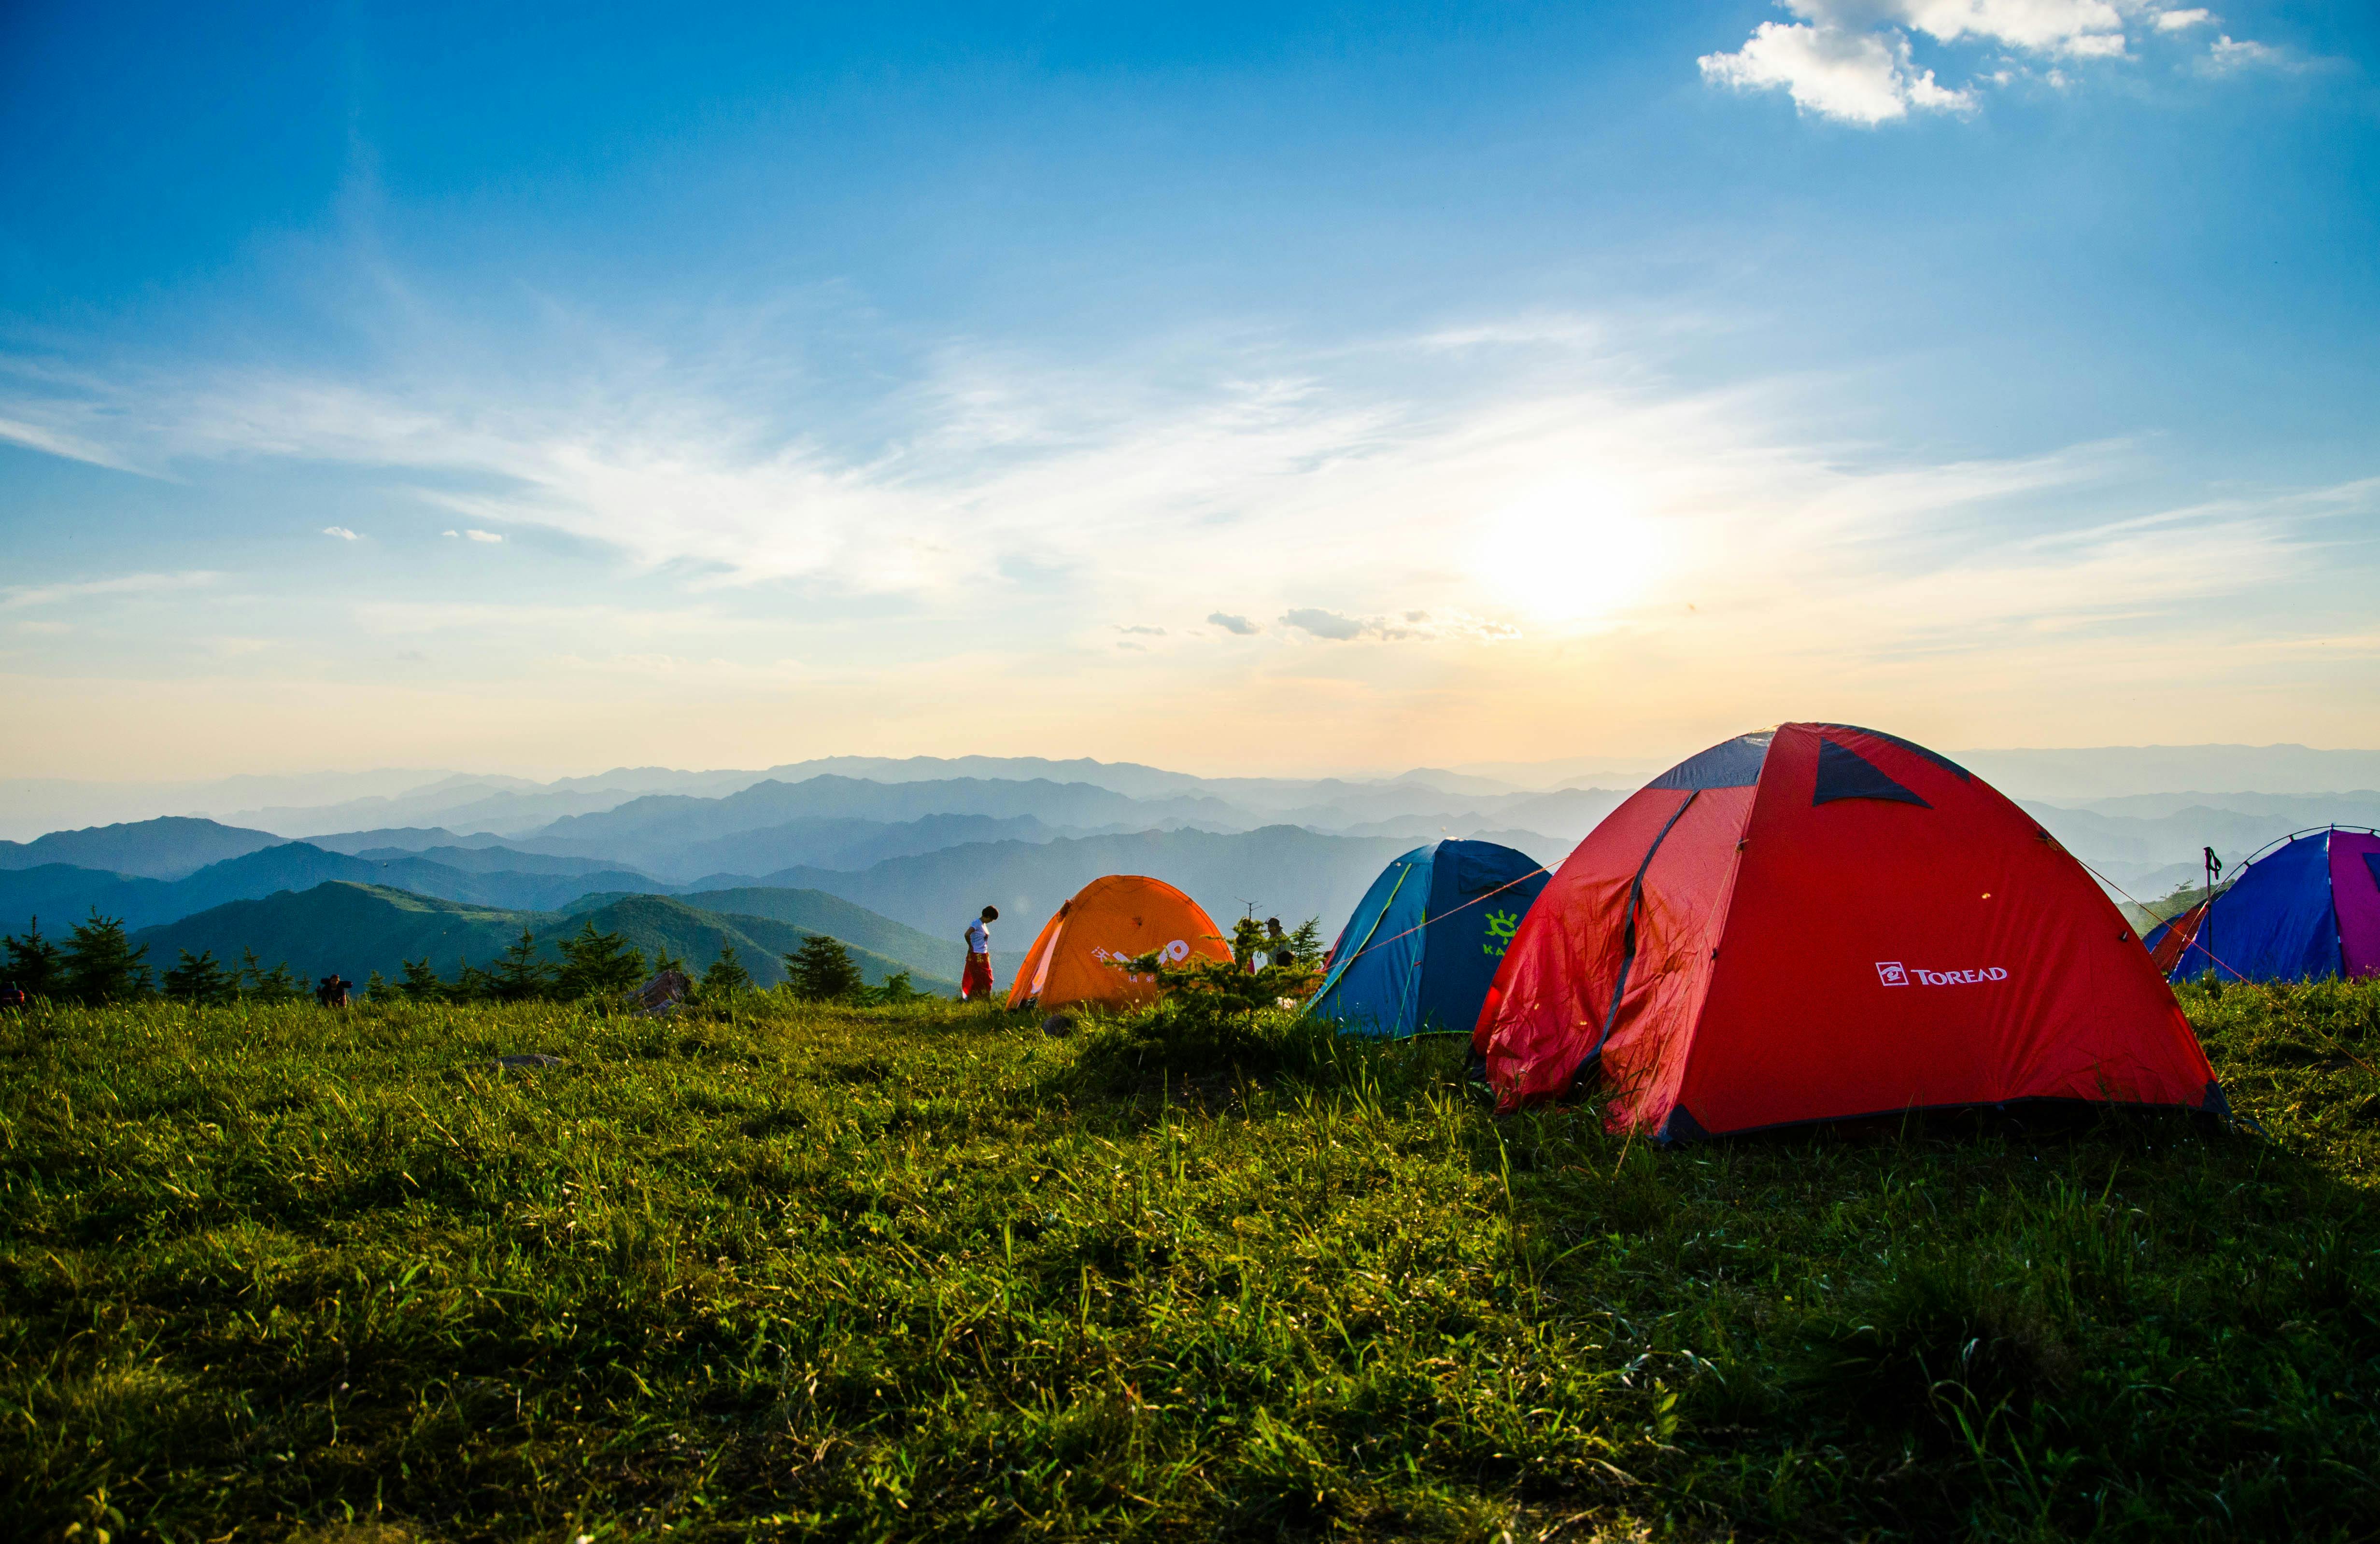
Picking bases, budgeting for camping vs. hotels, estimating fuel and knowing where to resupply are the practical glue that turns a pretty itinerary into a relaxing trip. Below are field‑tested recommendations and quick cost snapshots to help you plan a 3–7 day loop through the Utah national parks.
Where to base yourself: recommended towns and pros/cons per park
| Park | Best base town | Why (pros) | Cons |
|---|---|---|---|
| Zion | Springdale | Direct shuttle access, widest hotel range, restaurants and guide services | Can be expensive and crowded in high season |
| Bryce Canyon | Bryce/Bryce Canyon City/Tropic | Closest access to rim viewpoints, small‑town charm | Limited dining/late‑night options |
| Capitol Reef | Torrey | Quieter, good restaurants and services for a small town | Fewer lodging choices than Moab or Springdale |
| Arches & Canyonlands | Moab | Best grocery selection, many hotels, outfitters and campgrounds | Touristy; downtown fills quickly in summer |
Gateway towns like Moab and Springdale offer the most amenities and flexibility; smaller towns (Torrey, Tropic) are quieter but have fewer last‑minute options⁽²⁾.
Camping vs hotels: price expectations and booking tips
- Price ranges (typical): NPS campgrounds ~$20–$30/night; private RV/tent parks $35–$65/night; hotels $90–$300+/night depending on season and group size⁽²⁾.
- Booking window: Peak‑season campsites and gateway hotels often sell out months ahead — plan 3–12 months out for summer travel and book NPS sites on Recreation.gov⁽¹⁾⁽³⁾.
- Camp vs hotel decision: If you want sunrise in the park and lower cost, choose park campgrounds; if you need showers, dining variety and flexibility last minute, pick gateway hotels or rentals (Moab and Springdale have the widest choices)⁽²⁾.
Fuel and drive-time cost estimates for common multi-park loops
Two realistic loops and fuel math (estimate assumes a vehicle that gets ~25 MPG and gas at $3.50/gal — change numbers to match your vehicle/local prices):
- 4-day Zion → Bryce → Capitol Reef loop: ~360–420 miles total; fuel ≈ 15–17 gallons; cost ≈ $55–$60⁽¹⁾.
- 6–7 day full Mighty 5 loop (Zion → Bryce → Capitol Reef → Arches/Canyonlands → back): ~900–1,050 miles total; fuel ≈ 36–42 gallons; cost ≈ $125–$150⁽¹⁾.
Hidden tip: short detours to viewpoints or state parks add miles fast. Build a 15–20% buffer into mileage and time estimates for scenic stops and slow canyon roads⁽¹⁾.
Dining and provisioning tips: grocery, restaurants and food-rescue options
- Where to stock up: Moab (full grocery chains and City Market) is your best resupply hub for the eastern parks; Springdale, Torrey and Tropic have small markets and delis — plan main grocery runs in Moab or St. George/Toquerville if heading to Zion⁽²⁾.
- Restaurant reality: Expect wait times in Springdale and Moab during dinner hours; grab breakfast/snacks earlier or make reservations where possible⁽²⁾.
- Food‑rescue and last‑minute options: Many small towns have convenience stores for emergency supplies; consider packing key staples (coffee, trail snacks, basic spices) if you want to avoid markup in touristy places⁽¹⁾.
Local tip: one night cooking at your campsite saves both money and time. Even a single grocery run can cut your meal budget in half on a 5‑day trip.
- Road Tripping the Utah Mighty 5 — Camping World
- Utah’s Mighty Five National Parks – Best Lodging — UtahGuide
- The Mighty 5: A Guide to Exploring Utah’s National Parks — KOA
Packing, safety and local tips for desert and slot-canyon travel

Short, practical tips to keep you safe and comfortable while exploring Utah’s red-rock deserts and narrow slot canyons. These focus on what to pack, how to read weather alerts, seasonal clothing choices and the best official apps/resources to check before you go.
Desert-hiking checklist: water, clothing, navigation and sun protection
In Utah national parks you’re hiking in an exposed environment where shade and water are rare. Bring at least 1–1.5 liters per hour of activity in hot weather and cache extras at the trailhead if possible⁽3⁾. Wear breathable, light-colored layers, a wide-brim hat, UV sunglasses and SPF 30+ sunscreen — reapply every 2–3 hours if you’re sweating or near reflective surfaces.
- Essentials: 2–3 L water bottle or bladder, electrolytes, high-energy snacks
- Sun & skin: sun hat, sunglasses, broad-spectrum sunscreen, light neck buff
- Navigation & safety: topo map, compass or downloaded GPX for offline use, headlamp, whistle
- First aid & emergency: basic kit, blister care, duct tape, emergency blanket
- Extras: trekking poles (rock/loose sand), gaiters in windy/sandy conditions
Common pitfall: don’t assume a short trail means less water. Heat and sun exposure add up fast; plan on more than you think you’ll need⁽3⁾.
Slot-canyon safety and flash-flood awareness: what to check before you go
Flash floods cause the majority of slot-canyon rescues. Always check the National Weather Service for flash-flood watches and your park’s condition page before leaving. If storms are forecast anywhere upstream — even miles away — stand down. Avoid entering narrow slots if rain is possible; water funnels through the entire drainage quickly⁽4⁾.
Other quick rules: never hike solo in technical slots, file your route with someone, and know exit points before you enter the chute⁽2⁾.
Seasonal gear and clothing recommendations for cold nights and hot days
| When | Day | Night |
|---|---|---|
| Summer (Jun–Aug) | Light layers, sun protection, 1–1.5 L/hr | Light fleece, hat |
| Spring/Fall (Apr–May, Sep–Oct) | Layered shirt, wind shell | Insulating mid-layer + warm hat |
| Winter | Insulating base, waterproof shell | Warm down jacket, insulated boots |
Temperature swings can be 30+°F between day and night — pack a compressible mid-layer even if days are warm⁽1⁾.
Useful apps, alerts and official resources to monitor before/during travel
Check these before and during your trip: park condition pages (trail closures, flash-flood advisories), the National Weather Service for flash-flood watches, and a reliable mapping/GPS app with offline maps. For first-timers, consider hiring a local guide for technical canyons — they track local conditions and run safety briefings⁽1⁾.
- Weather/alerts: National Weather Service app and local park conditions pages⁽4⁾
- Navigation: Gaia GPS or AllTrails with offline maps (download before you go)
- Reference: local ranger station phone and park website for permit info and closures⁽5⁾
- Tips & Tricks for Exploring Utah’s Slot Canyons — Bryce Canyon Country
- Slot Canyon Safety: What You Need to Know — Kate Outdoors
- Tips for Hiking in Utah’s Slot Canyons — Story at Every Corner
- Flash Flood Safety — National Weather Service
- Zion National Park — Conditions & Alerts (NPS)
Pairing options, maps and official resources to finalize your plan
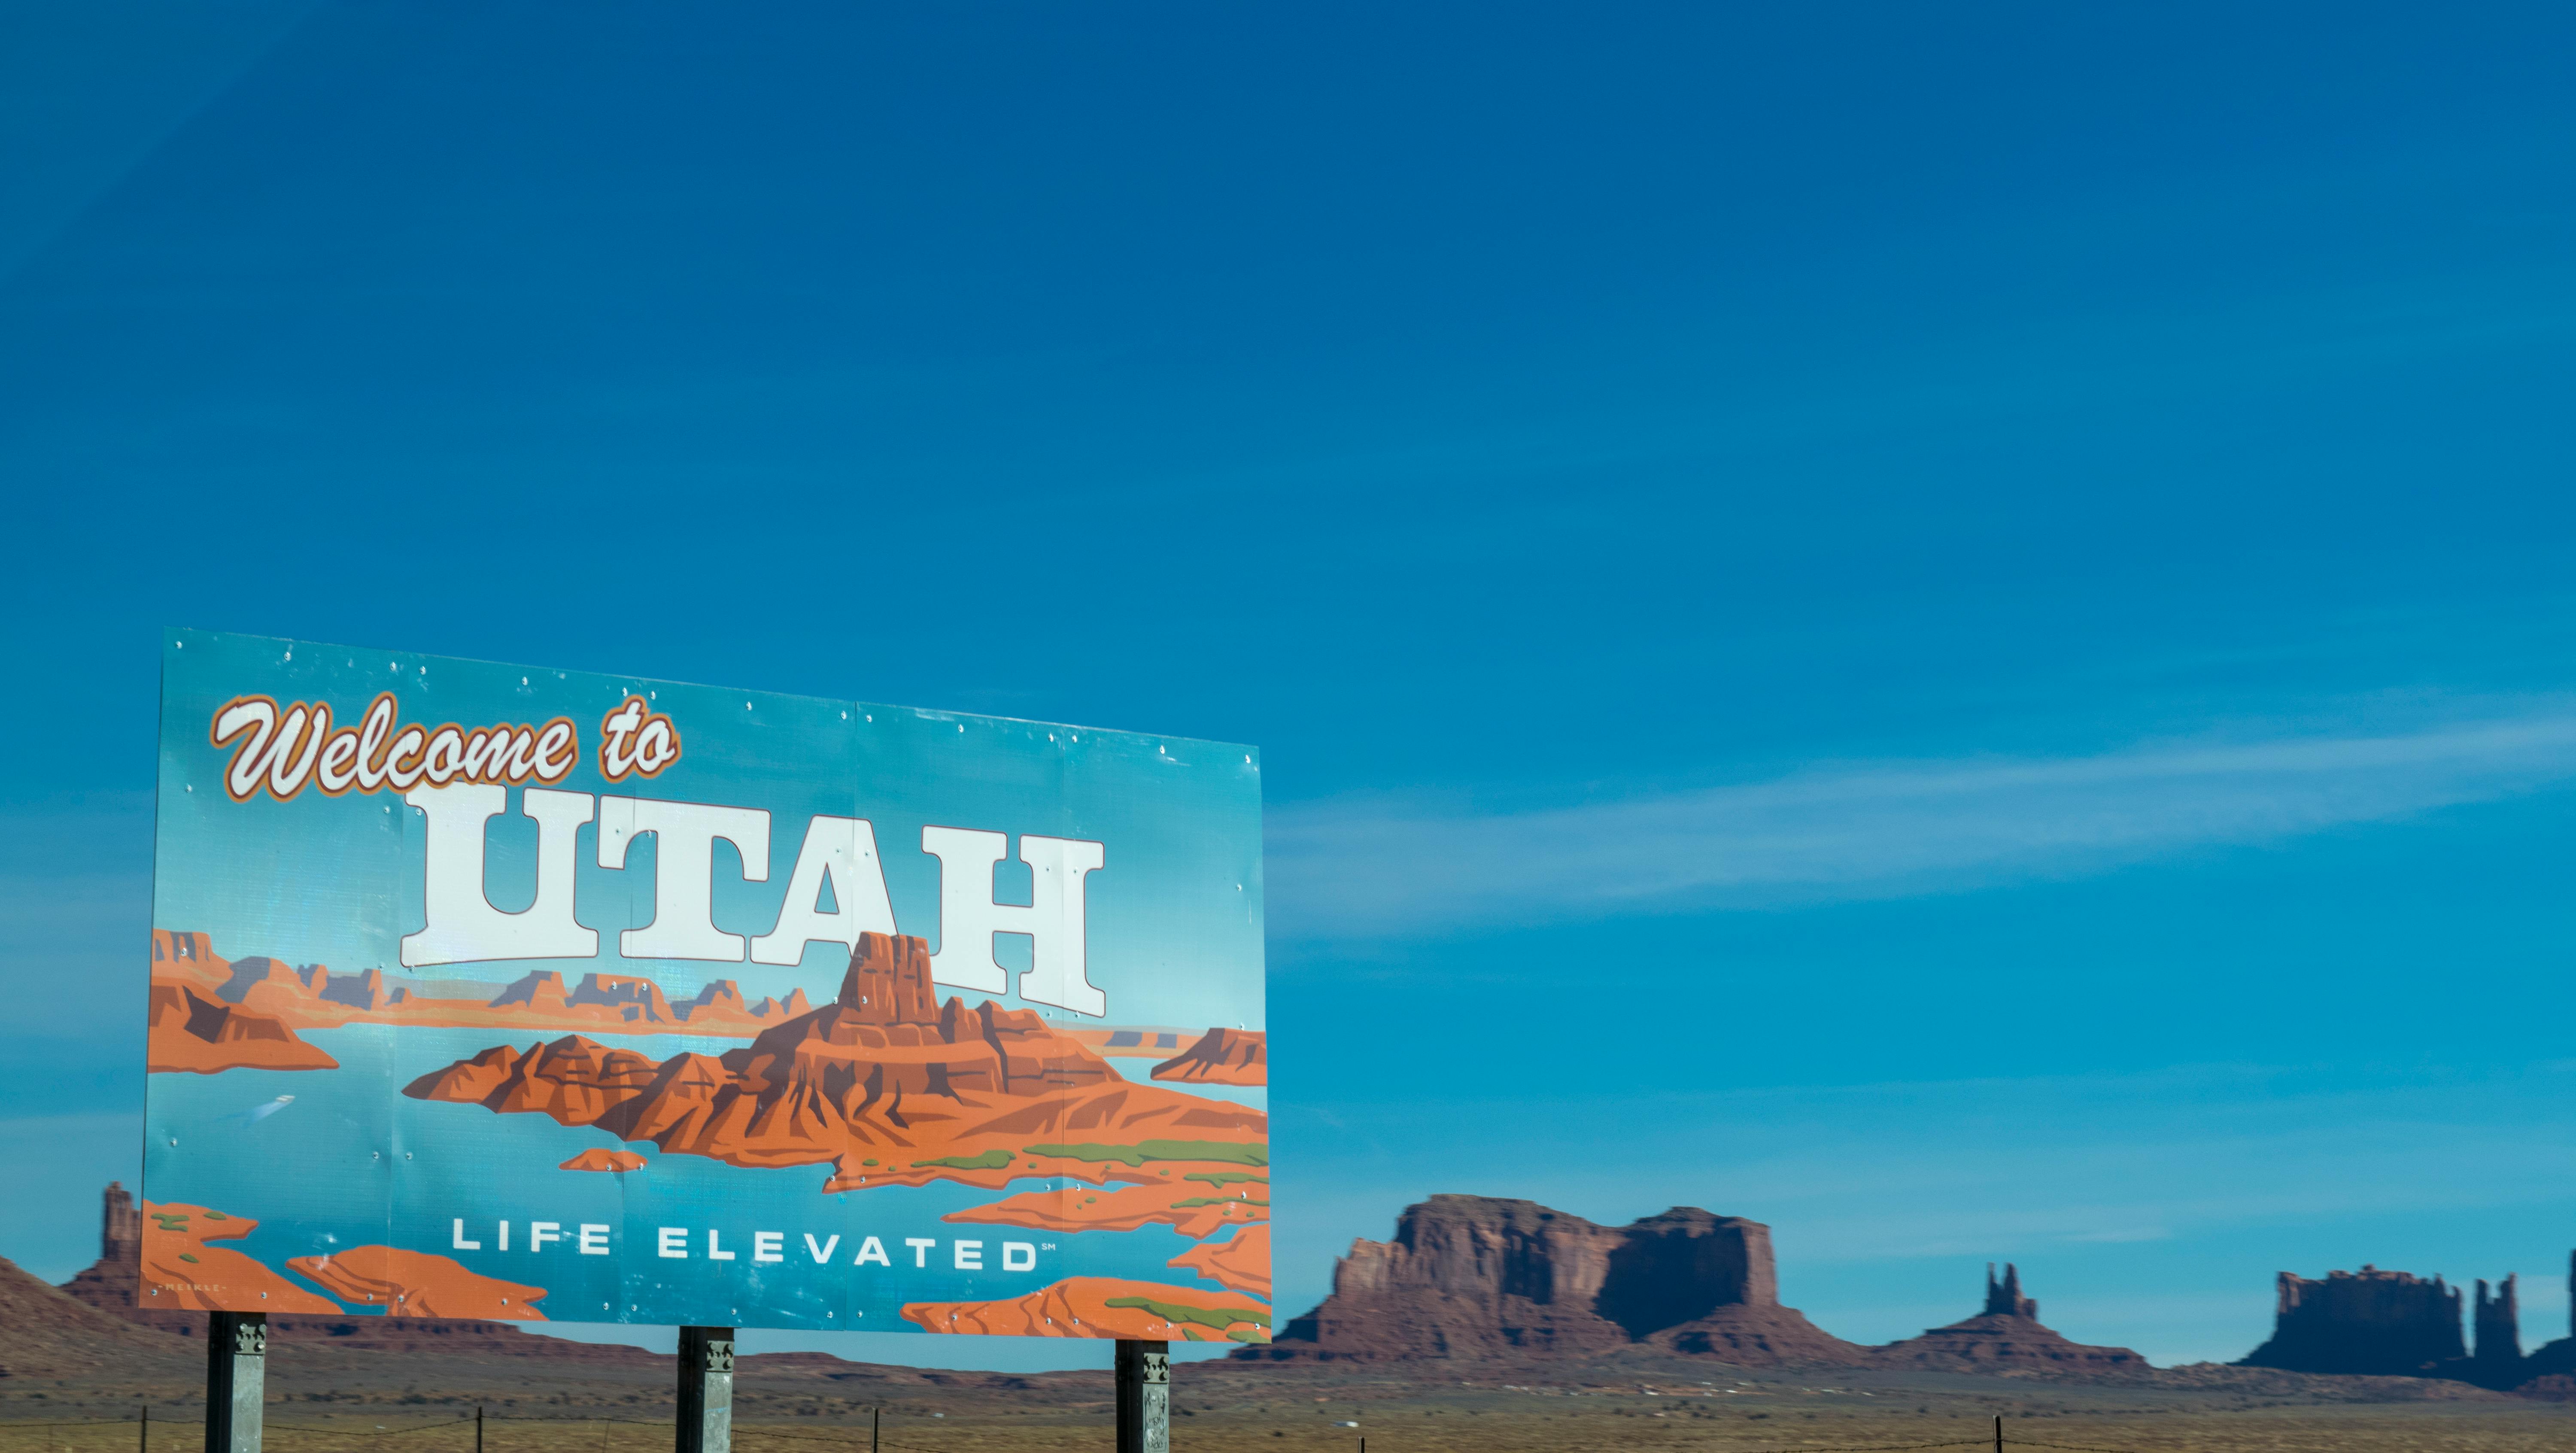
These final planning tools are the difference between a stress-free Mighty 5 trip and a last-minute scramble. Below are practical pairing ideas, how to use official maps and apps, a short pre-trip checklist, and trustworthy links to verify closures and permits.
Recommended nearby NPS and state parks to add or swap (pairing ideas)
If you want variety without huge detours, consider these easy add-ons by region — each gives a very different landscape and can replace or extend a day at one of the Utah national parks.
- Near Capitol Reef: Goblin Valley State Park or Little Wild Horse Canyon for hoodoo-like formations and a short slot-canyon feel; great for kids and photographers⁽¹⁾.
- Near Bryce Canyon: Kodachrome Basin State Park or Grand Staircase–Escalante National Monument for quieter spires and scenic drives; good swaps if you want fewer crowds⁽²⁾.
- Near Arches/Canyonlands: Canyonlands’ Island in the Sky plus Dead Horse Point State Park make a compact day with epic overlooks — less driving than trying to do both Arches and Canyonlands fully in one day⁽¹⁾.
- Near Zion: Kolob Canyons (Zion’s quieter district) or Snow Canyon State Park if you need an easy hike or sandstone contrasts without the crowds⁽²⁾.
How to use official park maps, NPS pages and park apps effectively
Start with the official sources: download park PDFs from NPS maps, bookmark the park’s “Plan Your Visit” page, and use Recreation.gov for reservations and permits. Screenshot maps or save PDFs for offline use; cell service is spotty in many areas so don’t rely on live access⁽11⁾⁽5⁾.
Install the NPS mobile app for park descriptions and alerts, then back it up with a GPS app that supports offline GPX tracks if you plan to hike off-trail. Use Recreation.gov to manage shuttle tickets, campground bookings, and regulated-permit applications⁽4⁾⁽5⁾.
Checklist: pre-trip bookings, permits, and final itinerary sanity check
- Book campsite or hotel nights and keep confirmation numbers handy⁽5⁾.
- Secure regulated permits: Angels Landing ticket (Zion) and Narrows top-down or overnight permits where required⁽6⁾⁽7⁾.
- Reserve shuttle passes (Zion Canyon) or check whether timed-entry is active for the park and season⁽6⁾.
- Buy an America the Beautiful pass if visiting multiple parks; it often saves money on entrance fees⁽5⁾.
- Download official park maps, screenshots, and any GPX routes you’ll use; tell someone your plan and ETA windows.
- Check alerts and weather 48 hours before travel for closures, fire restrictions, or flash-flood risk⁽8⁾⁽10⁾.
Further reading and links: where to verify current rules, closures and alerts
Always verify the park’s official page and alert feed within 48 hours of arrival. Primary resources to bookmark:
- National Park Service (main site) — park pages and conditions⁽11⁾
- Recreation.gov — permits, shuttles and campground bookings⁽5⁾
- Utah State Parks — fees, rules and state-park alerts⁽9⁾
- NPS mobile apps — official park content and alerts⁽4⁾
- NPS Alerts — national feed and park-specific notices⁽8⁾
- NOAA/NWS — flash-flood and severe-weather guidance⁽10⁾
- Utah’s Mighty 5: How to Plan the Perfect Road Trip Itinerary — EarthTrekkers
- The Mighty 5: Ultimate Journey — Visit Utah
- Ultimate Utah Mighty 5 Road Trip — Lita of the Pack
- NPS mobile apps — National Park Service
- Recreation.gov — official reservations and permits
- Angels Landing permit — Zion National Park (NPS)
- The Narrows — Zion National Park (permits and guidance)
- NPS Alerts and Notices — National Park Service
- Utah State Parks official site
- NOAA/NWS Flood Safety
- NPS Park Maps and Publications
In Summary
Here’s the take-away: this guide gives you a practical, coffee-chat style way to pick which parks fit your time, energy, and photo goals. Use the quick decision framework to map your timeframe, pair parks to your traveler type, and weigh scenery, hiking difficulty, crowd levels and permits. With the Mighty 5 as your compass, you can build relaxing, active, or photo-focused itineraries, and plan your utah national parks road trip with fewer crowds and more wow moments.
Final thought: start early, keep a flexible mindset, and build in a buffer day for weather or delays. If you share your dates and vibe, I’ll sketch a tight 3–7 day plan that fits your pace and budget. Now go grab a map, pour that second cup, and turn those park dreams into a real, doable plan.
- Key Takeaways
- Quick decision framework: Choose the right parks for your trip
- At-a-glance comparison: Side-by-side logistics for the Mighty 5
- Park-by-park quick guides: what makes each Mighty 5 unique
- Timing, crowds and micro-schedules to avoid peak times
- Ready-made 3-7 day itineraries by traveler profile
- Detailed visitor logistics: permits, shuttles and reservations
- Accessibility, facilities and services for every park
- Practical lodging, camping and cost guidance by route
- Packing, safety and local tips for desert and slot-canyon travel
- Pairing options, maps and official resources to finalize your plan
- In Summary
Get your FREE Monstera Art download
Join our WanderLife Studios mailing list to get updates about our work and be the first to know about upcoming art products.
As a Thank You Gift, you will get this wonderful hand-drawn Monstera Line Art as a digital download for FREE .

